A few quilters have expressed interest in quilting along with me as I put together two very different sampler quilts from the monthly 2016 block patterns for the Block Lotto. This makes me happy because I love designing sampler quilts.

This post contains more complete information for those who are committed or may be sitting on the fence and provides an introduction to the quilts and a little bit of information about me to those visiting for the first time from
Quilting is More Fun than Housework.
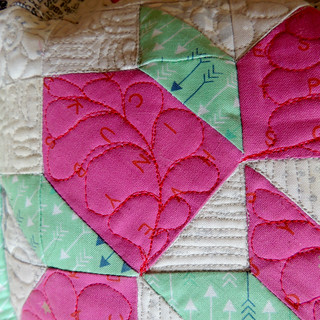
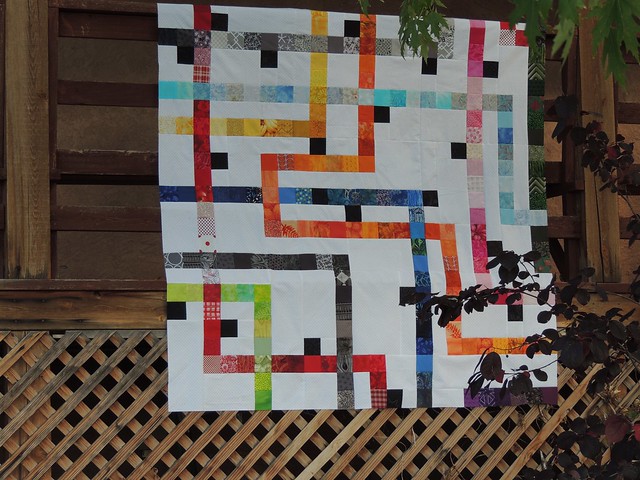
Thank you Cynthia for featuring my scrappy project this week for Oh Scrap!
If the
Block Lotto met the
Rainbow Scraps Challenge, fell in love, married and had a couple of kids, they might look like the two very different sampler quilts I have designed using the twelve block patterns we will be making for the Block Lotto in 2016. But you don't have to make lotto blocks to enter into the monthly drawing–everyone is invited to choose one of these
babies quilt designs and quilt along with me.
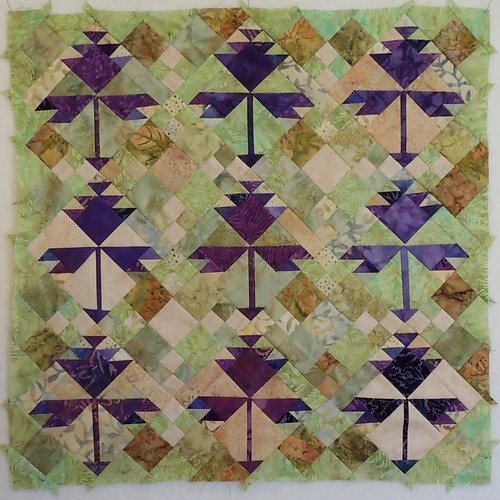
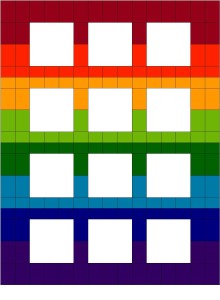
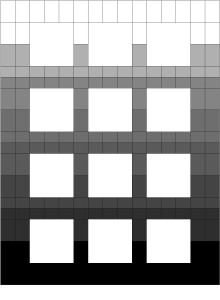
Graduated Scrappy Sampler Quilt
In this quilt, the only uncertainty is the blocks we'll make. You'll need to make four of each of the 6 inch blocks each month and sew them together into a 12 inch (finished size) four-patch. Each set of four fits into one of the spaces in the setting. This quilt will measure 60 by 78 inches.
I plan to make the rainbow-colored quilt on the left as one of my Rainbow Scraps Challenge projects this year. Each month I will make the blocks and cut fabrics for the graduated setting for the band that matches the color of the month.
I think this design would also really work well using a light-to-dark set of graduated fabrics in one color as shown on the right or choosing just two colors for the setting and alternating them from top to bottom. Blocks could be made in colors that match or contrast with the bands in the setting.
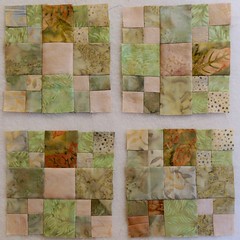
I designed the bands in the setting to be made from a scrappy bunch of large and small rectangles.
- Large rectangles are cut 4 1/2 by 6 1/2 inches
- Small Rectangles are cut 3 1/2 by 4 1/2 inches
For the top and bottom bands, you'll need:
- 21 large rectangles (approximately 1/2 yard total fabric)
For EACH of the six bands in between, you'll need:
- 6 large rectangles
- 15 small rectangles (approximately 3/8 yard total fabric)

My plan for making the setting is to cut those rectangles as I am going through my scraps each month for RSC and saving the arranging assembly step until the end or as all three blocks in a row are finished.
I might not find all all the scraps I need in a given color in the designated month, so I'll keep track and as I pull more fabrics from my stash or acquire new fabrics, I will cut a few more squares in the colors I need.
I'll be using the same system I adopted when I was cutting hundreds (and hundreds) of squares for the Tokyo Subway Map Quilt Along last fall and use a small zip lock bag for each band, with an index card on which I will write what I need, for that band/color and note my running total of what I've already cut.
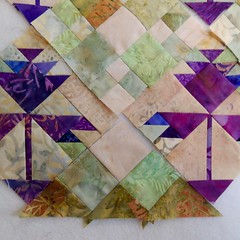
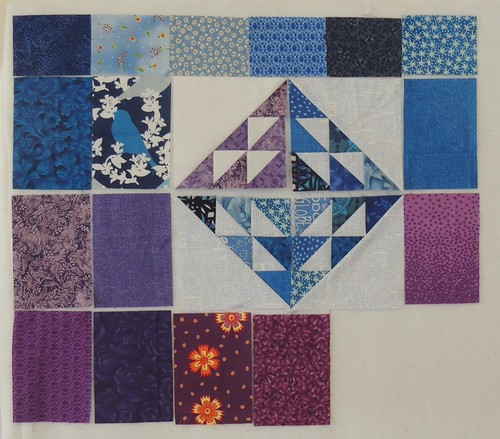
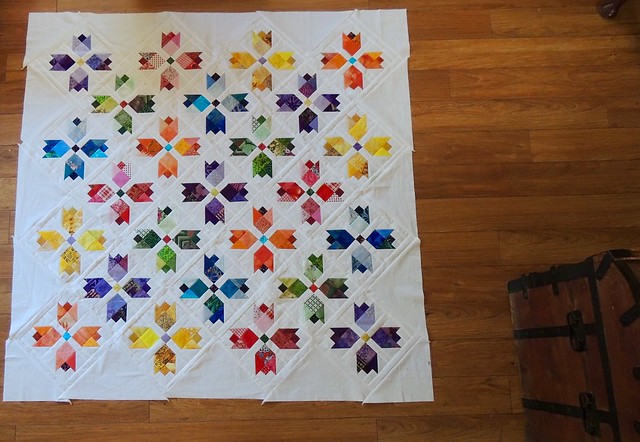
Here's what my progress looks like so far with my January blocks made and some of the blue and purple rectangles cut. This will become the bottom, left corner of my quilt.
Note: If you aren't a fan of the scrappy idea for the setting or wanted to use something like scrappy crumbs, made into your own pieced fabric for the setting, you could also use a combination of rectangles and larger rectangles and pieced long strips of fabric.
For the top and bottom bands:
- 1strip 6 1/2 by 60 1/2
- 2 large rectangles
- 2 larger rectangles cut 6 1/2 by 8 1/2 inches
For the middle bands:
- 1 strip 4 1/2 by 60 1/2 inches
- 2 small rectangles
- 2 larger rectangles cut 6 1/2 by 8 1/2 inches
Old MacDonald Mystery Sampler
There is a whole lot less to say about this sampler quilt design–if you have read this far, you're probably glad about that. Old MacDonald popped into my head as I was designing it and may give you some insight into my vision for this quilt.
This quilt has no sashing or borders and is made from 99 lotto blocks in a 9 by 11 grid to create a 54 by 66 inch quilt.
You might decide to add borders (or extend the quilt with more blocks) if you want a larger quilt or feel it needs borders.
The number of each of the lotto blocks you’ll need to make this quilt varies from 2 to 15.
The quilt is a little bit pictorial (a sort of abstracted landscape), a little bit folky and has a lot of leeway in the choice of colors.
If you decide to suspend disbelief and play along, I’ll give you color clues each month to help you choose colors that will work in the quilt and still be “you.” You may decide to deviate from the Rainbow Scraps/Block Lotto colors for the month in this quilt ... but it will also work if you stick with the RSC/Block lotto colors of the month.
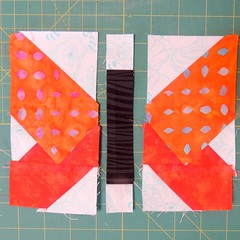
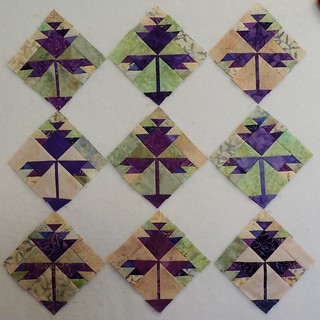
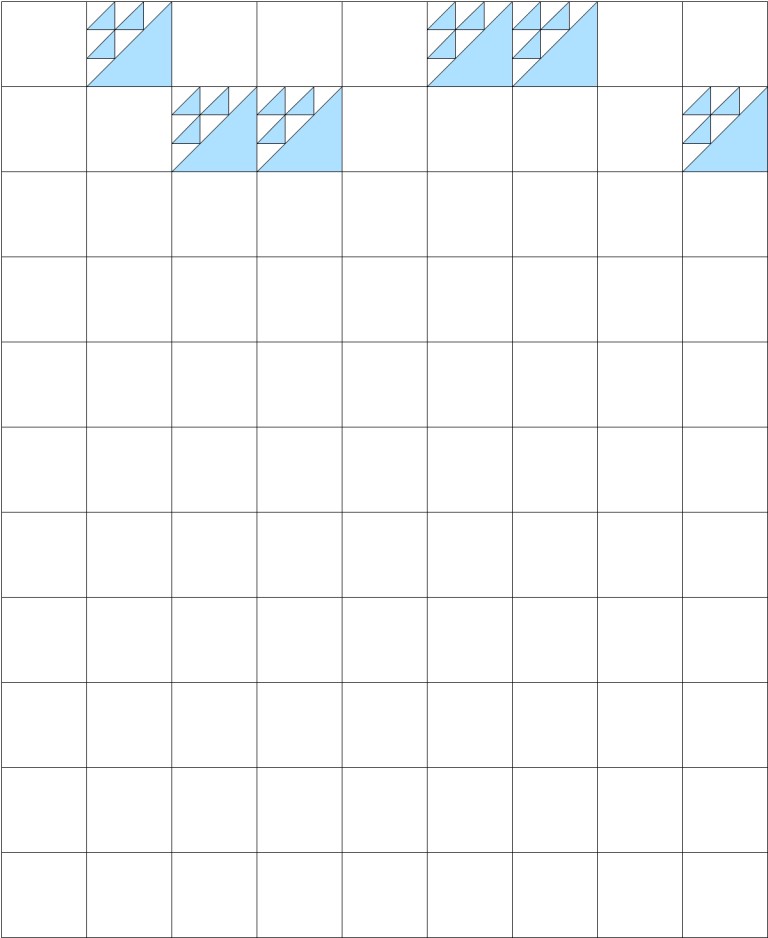
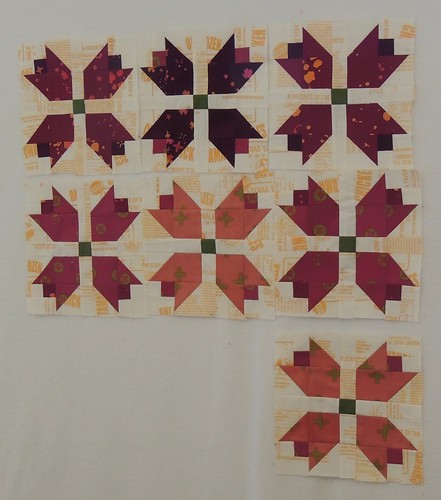
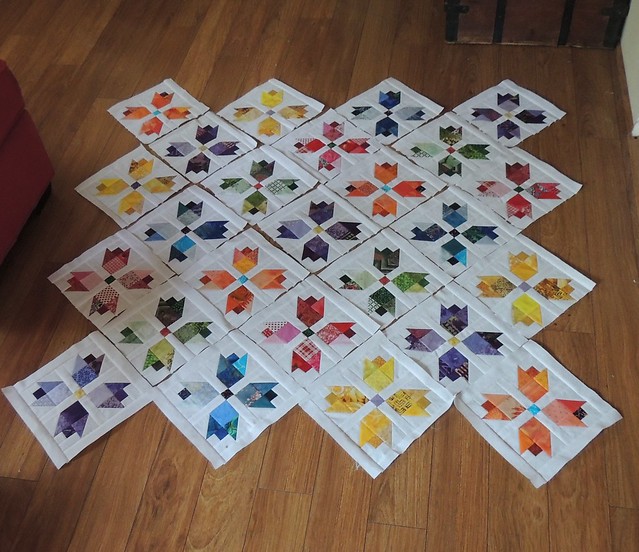
For January, you will need 6 Birds in the Air blocks in colors that suggest a summer sky. I used shades of blue, tinged with purple and aqua, and cream for my blocks. You might choose colors that suggest a sunrise, sun set or even a summer 's night sky. Note that the colors you choose here will influence your choices in future blocks.
I noticed that I had quite a few batiks in my scraps, so decided to make this sampler from batiks only and use only prints in the Rainbow Graduated Scrappy Sampler–it will be interesting to see if my scrap bins will be able to sustain my self-imposed rule . . .
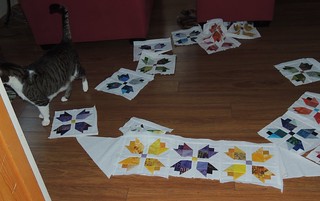
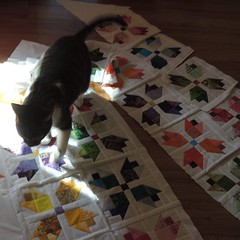
Here are my "sky" blocks.
Blog Badge
I have created a blog badge for the Old MacDonald Mystery Sampler. It links to a page on Blocklotto.com that contains all the basic info and will be updated each month as the new block is announced.
If anyone decided to make the graduated sampler with me and wants a blog button, I can make that happen.
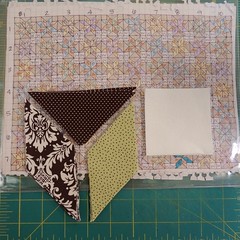
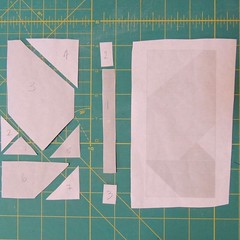
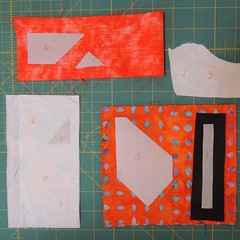
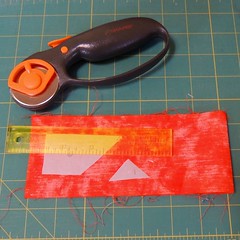
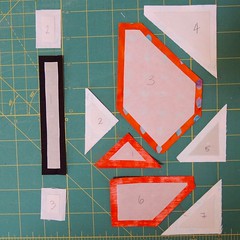
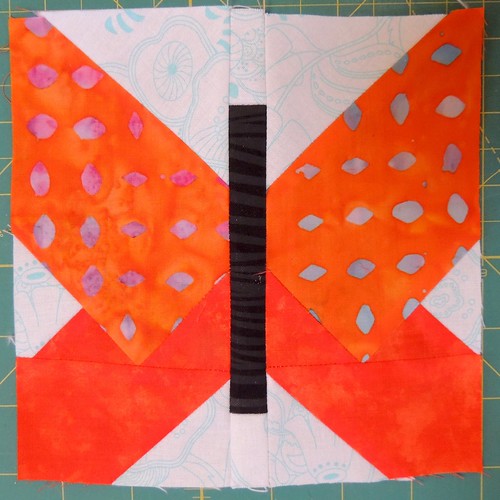
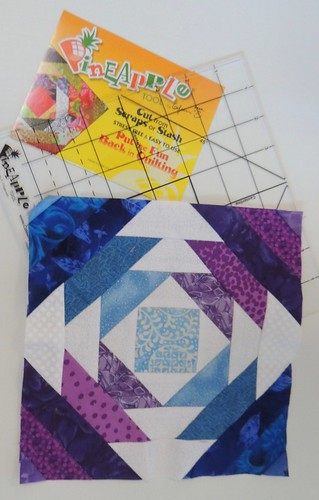
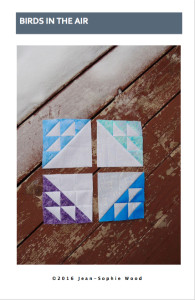
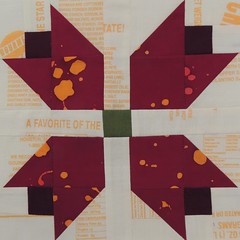
The January Block Pattern - Birds in the Air

Birds in the Air is the January block. For the Block Lotto and these samplers, it is made as a 6-inch finished size block.
The pattern includes two methods for making the block to choose from–your choice may be based on your comfort with working with bias edges–and cutting measurements for making the block in 7 sizes from 3 to 12 inches.
All the block patterns for the Block Lotto (and these samplers) will be free for the first 10 days the month–look for the code you'll need on the first-of-the-month posts on Blocklotto.com
Birds in the Air Quilt Block Pattern
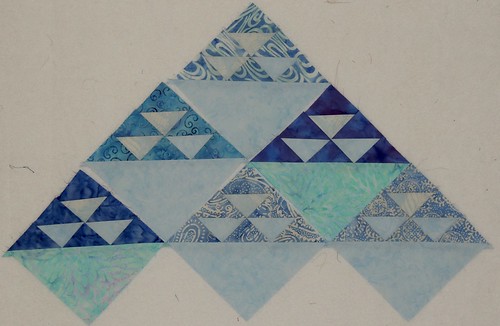
This Birds-in-the-Air blocks in the snow photo was inspired by Angela's color inspiration for the RSC this month, snowflake.
About Me and Why Samplers?
As a person who has worked in and around technology throughout my career, when I began quilting in 2000, I immediately went online looking for other quilters. I joined many, many online fabric swaps and block exchanges and led more than a few myself. Like my profile says, quilting is one of the "high touch" things I do to balance my "high tech" work life.
I started the Block Lotto on a quilting forum in 2002 as both a way to try a new block or technique or color/fabric combination without having to make enough blocks for a quilt on your own and an activity to help new quilters who wanted to join block exchanges to practice following rules to make blocks.
When it comes to quilting styles, I am an omnivore and love learning and trying them all. If you click around my blog, you will find traditional, modern, and art quilting . . . and everything in between.
So, when I choose or design blocks for the Block Lotto, each year is a collection of styles and techniques, but I also think about how well the blocks will play together in a sampler quilt. If only in my head, each year has an overall theme.
This year, all the blocks will be 6 inches square (finished size). They represent a mix of traditional, improvisational and original pieced designs. Some are more abstract/geometric, some are pictorial and one is a Block Lotto favorite that we’ll revisit in a new color way. All the blocks can stand on their own in quilt settings, but many also do interesting things when 4 blocks are sewn together.
Most years, I have designed a sampler for the blocks, began a sampler of my own from the blocks and ... some years I even finish my sampler quilt.
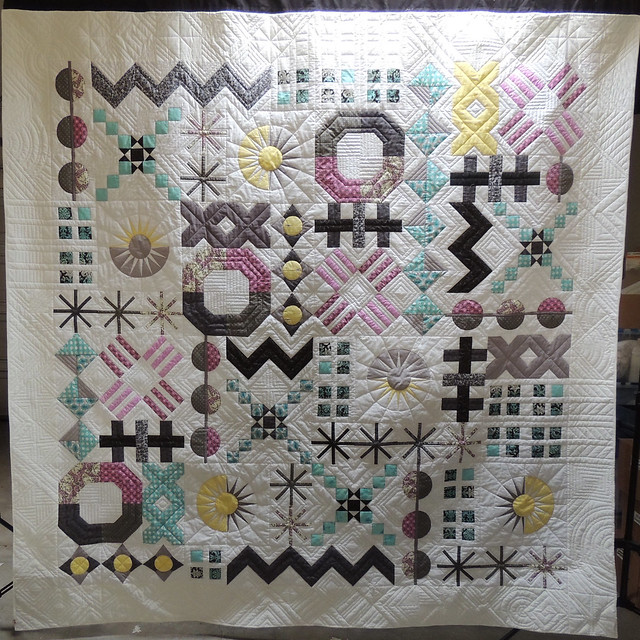
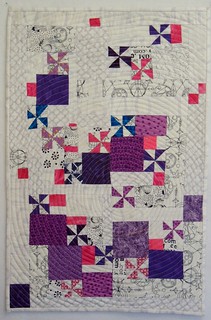
This is my scrappy black & white sampler made from the 12 inch blocks from the first year of the Block Lotto ... I am still using it.

And here is my queen-sized Mod, Mod Sampler quilt from 2014.
You can find other examples of the Mod Mod quilt (along with other eye candy) in the
Block Lotto Gallery.
In terms of construction, the Graduated Scrappy sampler is more like my first sampler and Old MacDonald's mystery is similar to the second.
You can read more about the Block Lotto here:
About the Block Lotto
And, if you like the Birds in the Air block and want to join us, the details for January are here:
New Year, New Block and Birds in the Air
I am joining the link list parties for:
Scraptastic Tuesday (January edition)
Rainbow Scraps Challenge

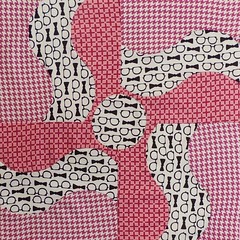
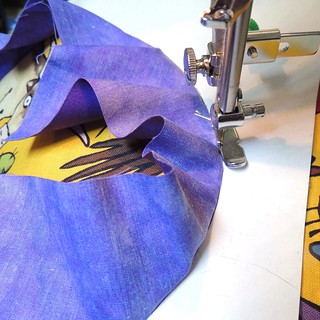
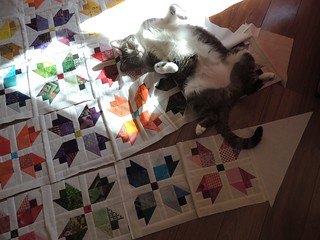
 If you saw this photo pop up on your feed and reacted by thinking that it doesn't look quite like a Sophie project ... you'd be right.
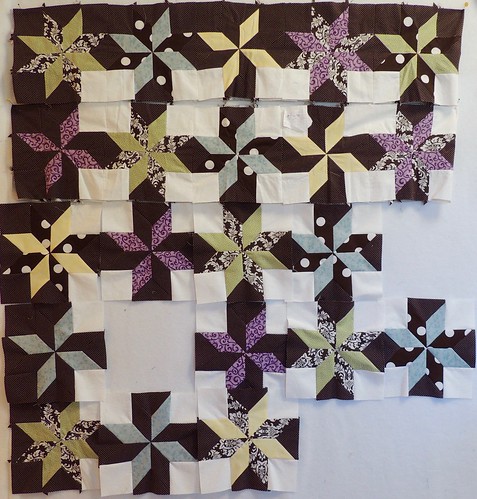


