Thursday, April 17, 2014

Two Quilts That Can Finally Be Revealed

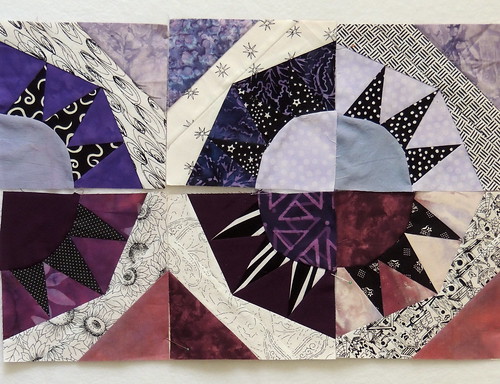
Tiny Strings - My Little Quilt
It's been a while since I shared the little quilt that I made for Kate's annual swap of little quilts.

I named it Little Strings, for the tiny string-pieced triangles.

Now that all the swapped quilts have been received, I can share the quilt I received in the swap, made by none other than Kate herself: 


You can see all the quilts with information about who made them and to whom they went to in the swap in the Grand Reveal on the blog for Another Little Quilt Swap.

In the Cotton Robin group last summer, one of the round robin quilts took the longest trip ever reaching its destination (literally on a slow boat from Canada to New Zealand).  When all seemed lost, a replacement quilt was started and then, when the wayward quilt arrived,  a group of us decided to use it as a center and make a round robin quilt for Julie, our fearless leader.

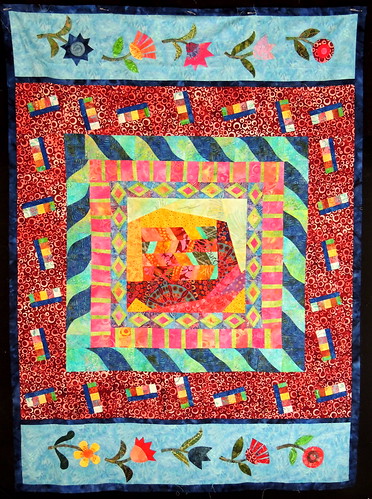
By the time I received the quilt from Rachel, it had already passed through the hands of five quilters and looked like this:

Julie's Quilt-in-progress - what I received

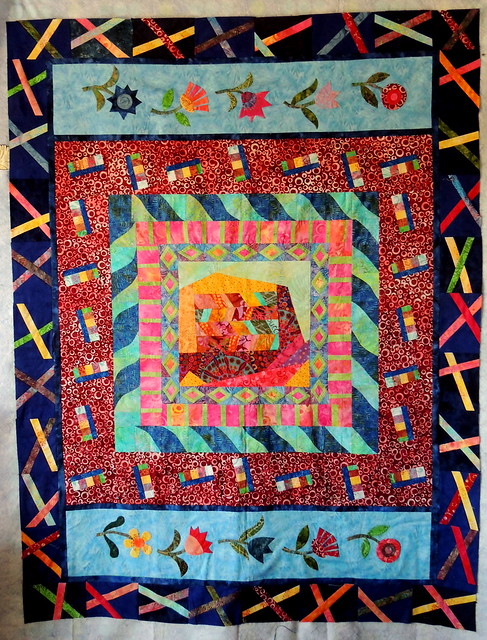
At this point, it measured approximately 43 by 59-inches. The rounds seemed to be wider and wider and I felt my challenge was to add something narrower that was still graphically strong. I decided to continue using the dark blue that Rachel had added to border her beautiful appliqué rows and to add colors from the center. After I added my round, it looked like this:

Julie's Quilt-in-progress with my Round added

After me,  Tami and Laurina added borders, Nan quilted the quilt and Jay added the label and binding and it looked like this:


The finished quilt is approximately 70-inches square, large enough to wrap up and feel appreciated.

I love the little quilts we make as part of the Cotton Robin and can't wait until next month when the last quilt will arrive, ready to be backed and quilted, but it was fun to work on this quilt with many rounds.

Tuesday, April 15, 2014

The Internet Made Me Do It

When Melody posted about making pissaladière–a south of France dish made with caramelized onions, anchovies and ripe olives on a thin, pizza like crust–I started getting nostalgic about the time I spent living in France and eating things like pissaladière and pizzas baked in wood-fired ovens.

Then I read Lori's post, with a review of the book, Almost French: Love and a New Life in Paris by Sara Turnbull, and how the author married a Frenchman lived in France for 8 years, adopted many French customs, but never became French.  More nostalgia ensured and I thought about how my own life in France was a long time ago and only lasted three years, but has had a lasting effect on me.

Over the weekend, Kate shared something new for dinner, a spinach, egg and pecorino pizza ... which got me thinking about my favorite pizza when I lived in France. It had a thin crust and was topped with a tomato sauce, lardons (a style of bacon), eggplant and an egg.  For lunch today, my pizza had these, along with some mushrooms.

Pizza

My pizza crust wasn't as thin, but had a nice crisp bottom (thanks to the cast iron pizza pan) and my pizza was piled high with the veggies in a very UN-French way, and I don't actually remember whether there was cheese on top way back when and next time I'll try it without,  but all the flavors from my memory was there and it was a nice culinary trip down memory lane.

The only thing missing was the pili-pili–an oil infused with chile peppers and herbs.  In Provence, where there's pizza, there's pili-pili in a bottle, sitting on the tables, to be drizzled on top of the pizza.  I had completely forgot about it until my pizza was sliced and on a plate and I realized it was missing. I'm going to try making some–this recipe from the New York Times looks like the stuff I remember–for the next time the Internet makes me nostalgic for my favorite French pizza.

Monday, April 14, 2014

In Other News ... Snow? Really?

I woke up to ice on the deck and this forecast:

Cold Snap

I expected snow on the mountains, but theres a 50-50 chance it will snow here today.   

I no longer feel bad about putting off gardening tasks.  Today I am putting off anything that requires going outside and trying to convince Johnny Be Good that he really doesn't want to go out either. 

It's a Quilter's Prerogative

A funny thing happened when I made this month's Triangles-in-a-Square blocks for my Mod-Mod Quilt-Along queen-size quilt.

The original Color Palette IdeaI chose fabrics from my original, inspirational stack of fabrics–won in a blog giveaway at the end of last year.

After deciding that I wanted to use the stripe as the large triangle in the block, I knew I couldn't use my favorite, 4-at-once, no waste, flying geese technique because I wanted to end up with the stripes going the same direction in all the blocks.

Flying Geese from StripesI ended up creating a template, starting with the paper foundation piecing pattern included in the block directions as Method #3.

Using a Template

If you're curious, I blogged about making the template and cutting the fabrics on the Block Lotto blog, here:

And Then There Was Method #4

It worked well for me and I quickly made the 9 blocks I needed.

Original T-i-a-S blocksSince these were my original, inspiration fabrics for the color way for my quilt, I was confident that they would work in my quilt and didn't pull out the blocks already made for this project until AFTER I'd made them.

You can guess what happened, right?  Once I put some of them on the design wall,  arranged as they will be in the quilt, I didn't like them so much.


Original Triangles-in-a-Square

As is my usual, I suspended disbelief and left them on the wall overnight to see how I'd feel in the morning ... when I decided I wanted something with clearer, lighter colors.  Here's how my design wall looks now, with the replacement blocks. Your mileage my differ, but even on an overcast, badly lit day in the studio, I like these better.

Revised Triangles-in-a-Square blocks

I am reminded, once again, of the value (to me) of my design wall.   I'm also struck by how much my idea of the colors I want in this quilt have changed in just a few months.  And how it's a quilter's prerogative to change her mind as work on a project progresses.

I'm joining the list for Design Wall Monday.

This is one of two quilts I'm making as part of the Mod-Mod Quilt-Along.  In the other, a 60-inch square throw sized quilt, I am throwing caution to the wind and making the blocks each month in the designated color for the Rainbow Scraps Challenge.  I am such a control freak when it comes to my quilts that I just have to suspend disbelief and quilt on ... here's how those blocks look so far. 

RSC Purple blocks

If you like what you see and want to jump in, you can the individual block directions on my Free Block Patterns page and the Mod-Mod-QAL updates on the Block Lotto here: 

Introduction and January update: It’s a Mod-Mod Quilt-Along


Wednesday, April 09, 2014

Spring Challenge - Work-in-Progress

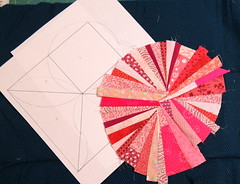
Beginnings of a Spring ChallengeHere's where I started, with an idea, a sketch and a bit of fabric made from (mostly) pink strings.

I haven't made a lot progress so far this month, but I've made some.

More "fabric" made from scraps: a big blue square and some green rectangles.


Blue Made Fabric Green Made Fabric

I think you can see where I'm headed with my simple idea ...

All the "Fabric"

I'm joining the party for WIP Wednesday on Freshly Pieced and Esther's WOW (WIPs on Wednesday). on her blog.   Be sure to check out what others have in-progress and the beautiful, free,  Easter Rose table runner pattern Esther has designed. 

Sunday, April 06, 2014

Making Blocks for Scrappy Quilts

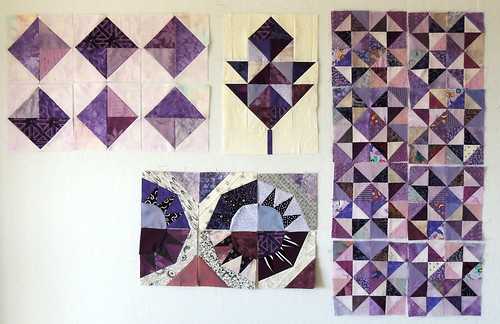
Sunday was gray and cold and windy here, feeling more like winter than anything else.  It made it easy to stay inside and continue to play with purple scraps.  The result was a purple haze on my design wall.

Design Wall - April 6 - a Purple Haze

These are the blocks for the four ongoing projects I'm working on as part of the Rainbow Scrap Challenge.  Two are new this year, two are old (and older) projects that I hope to finish by year's end  as I work my way, month by month, color by color.

As I moved from block-to-block and project-to-project, I realized that my approach to these scrappy blocks isn't always the same.

Scrappy Purple Broken Dishes BlockEach of the Broken Dishes blocks is made from 32 triangles.  When cutting fabrics for these, I don't really think about the individual fabrics and how they will play together, only their VALUE. The placement of the light, medium and dark fabrics creates the stars in these monochromatic blocks and they do seem to be proof of the idea that if you use 50 different fabrics, they will work.

FYI, the 8 broken Dishes blocks on my design wall are from a previous iteration of the Rainbow Scraps Challenge.  My goal this month is to make 13 more.

Purple Briar Patch BlockThe paper pieced Briar Patch blocks contain 3 purple fabrics plus 2 black and white prints (one light and one dark). In each of these blocks, I do think about choosing three fabrics that play well together.

But because I doubt that the blocks will be lumped together by color in the quilt, I don't worry if the blocks made from a single color, like these six scrappy purple ones aren't great together.

Six Scrappy Purple Briarpatch Blocks

A side effect of my gray, overcast day is that some of the purple fabrics in these blocks look a little dead.  They are actually more lively and purpley in person ... but they still don't all play well with one another. 

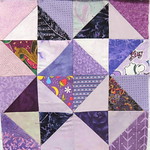
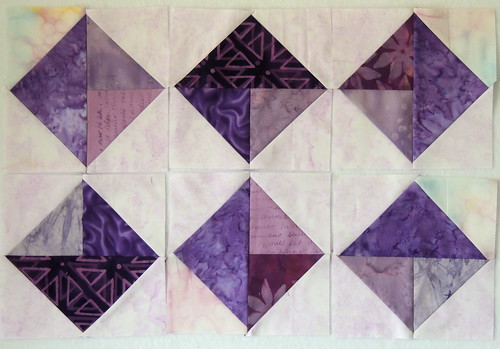
Purple Triangles-in-a-Square blockFor the Triangles-in-a-Square blocks for my Mod-Mod Throw, because I know they WILL be grouped together in the quilt, I paid more attention to the group of 14 fabrics and how they ALL worked together.

I still used a mix of purples that were closer to red on the color wheel and those leaning toward blue, but all six blocks are happy to be adjacent to one another (and definitely happier together than those Briar Patch blocks) ... or at least I think so.

6 Scrappy Purple Triangles-in-a-Square blocks

I made these using the 4-at once method (#1 in the instructions) and the paper foundations (method #3) to make 2 more.   I'll have more to say about these and the Mod-Mod quilt-along next week.

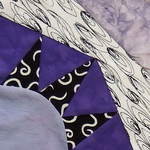
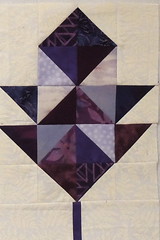
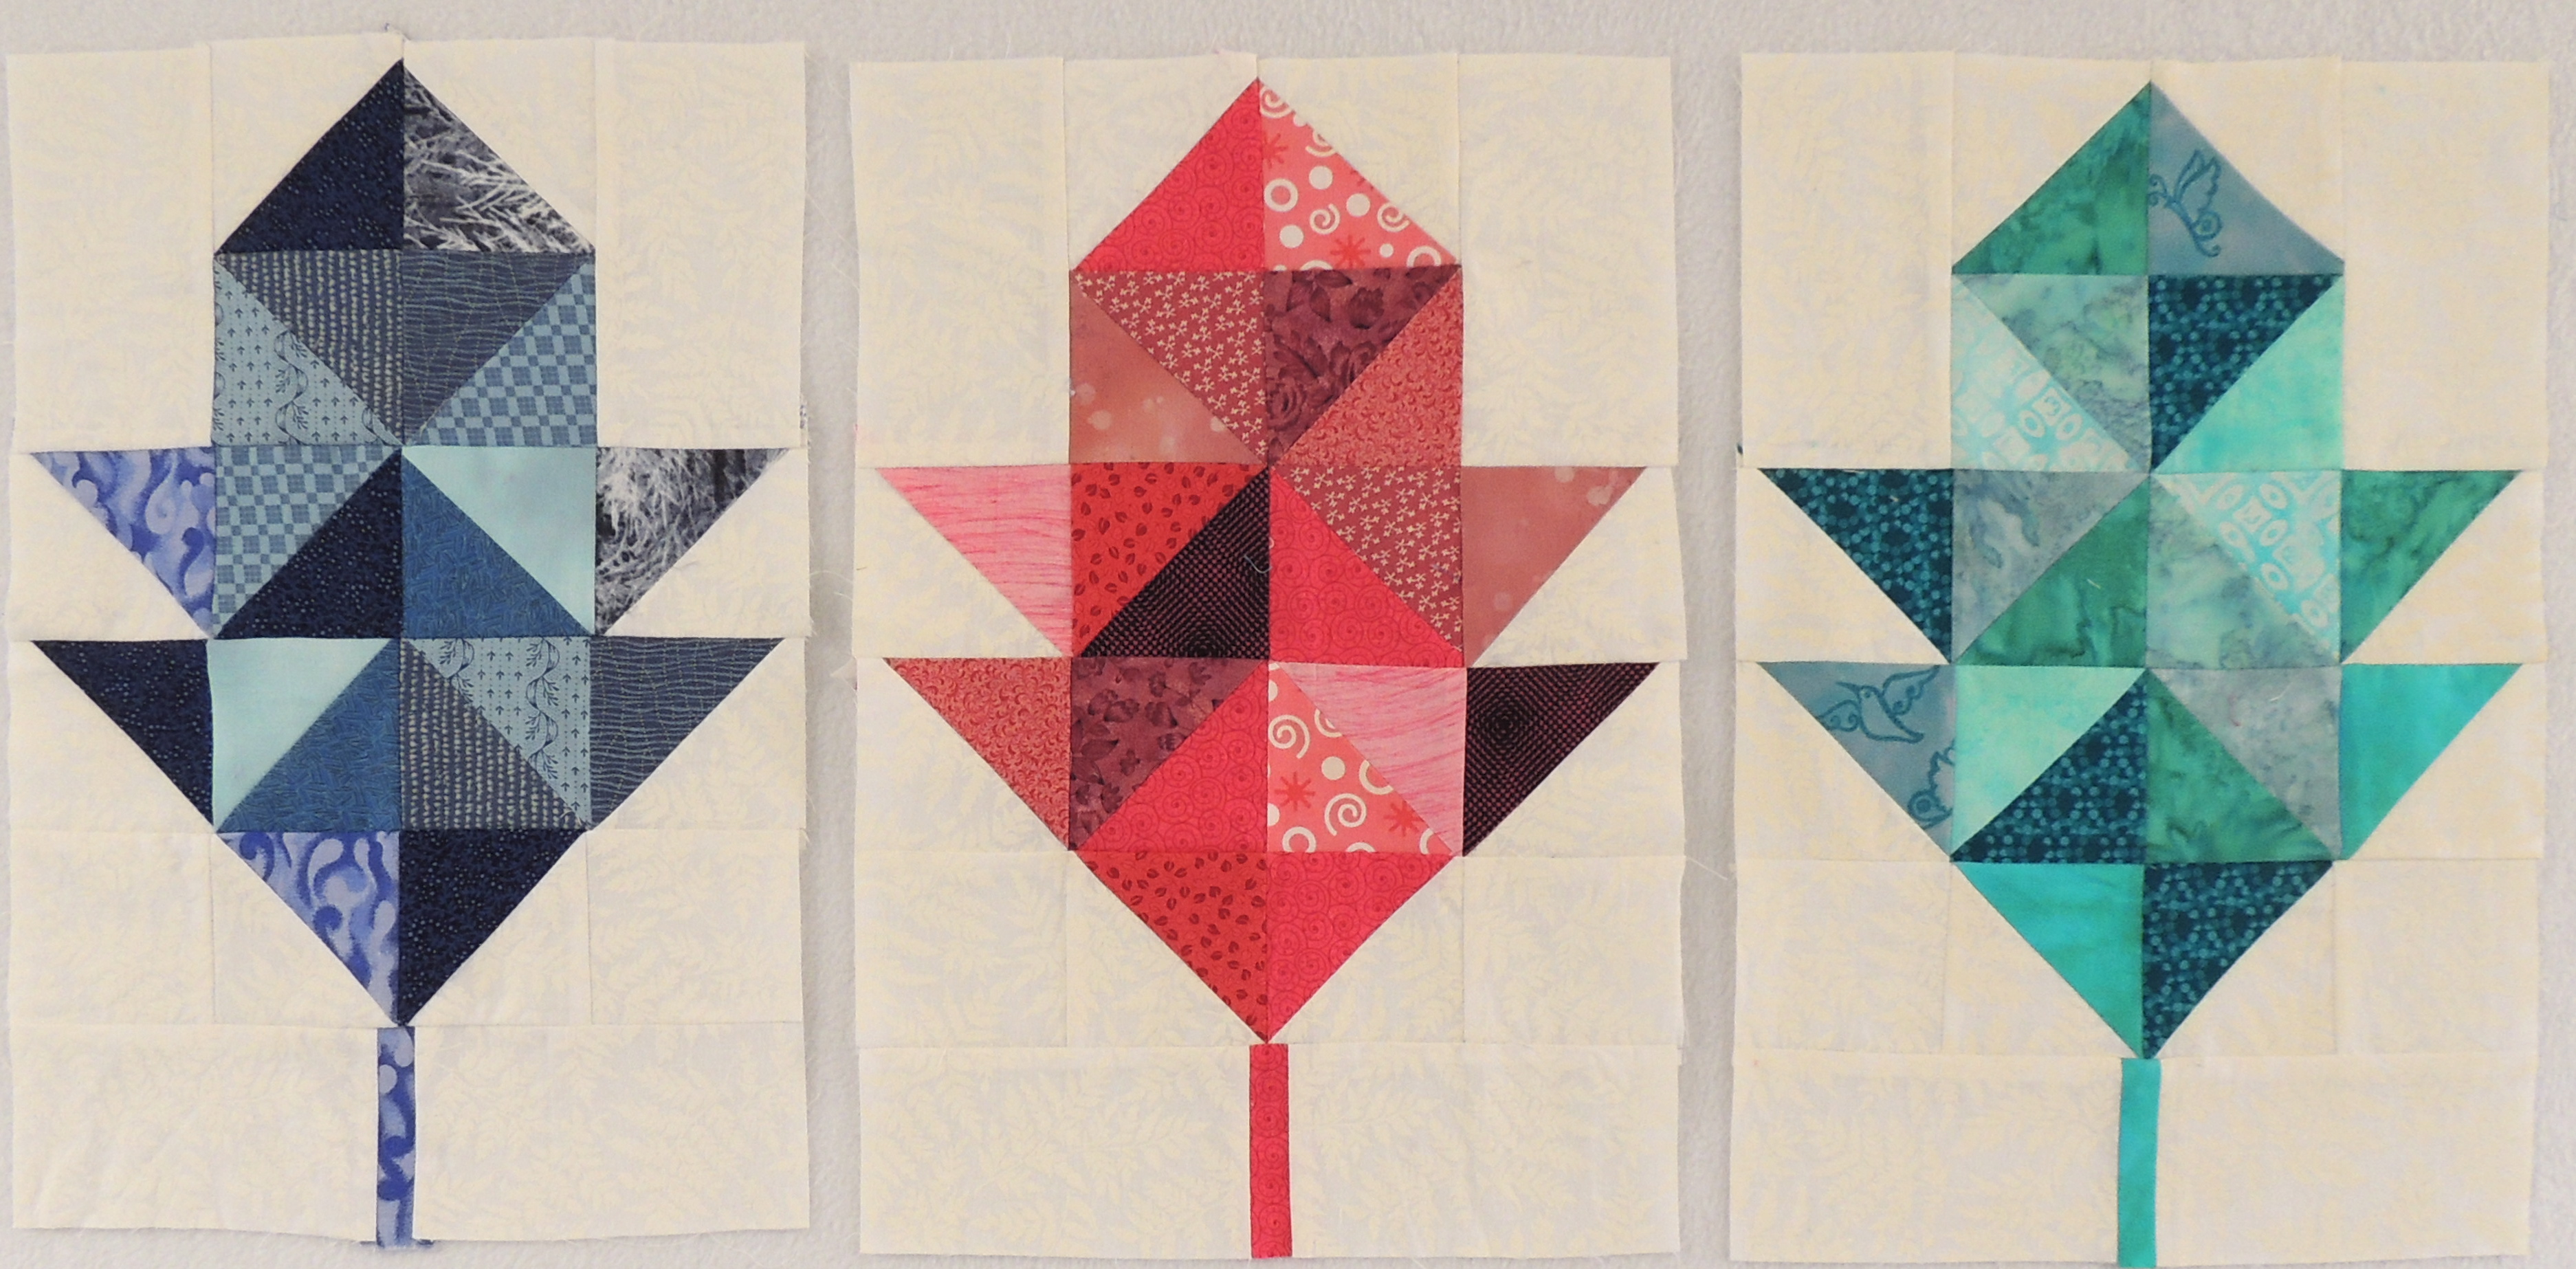
Scrappy Purple Oak Leaf BlockI confess I am not entirely happy with my purple Oak Leaf block.

While I do want to have enough contrast between the 10 purples in this block–because I want the individual triangles to be obvious–this one seems to have almost too much value contrast and would, I think, benefit from more mediums and fewer dark fabrics.

If I get all those Broken Dishes blocks made before the end of the month, maybe I'll try remaking this one and see what happens.

When you make scrappy blocks, do you choose fabrics that coordinate, choose them based on value or color,  or just randomly choose and use them ... or do you have your own technique for choosing fabrics? 

Saturday, April 05, 2014

The Color Purple and Fabric Storage

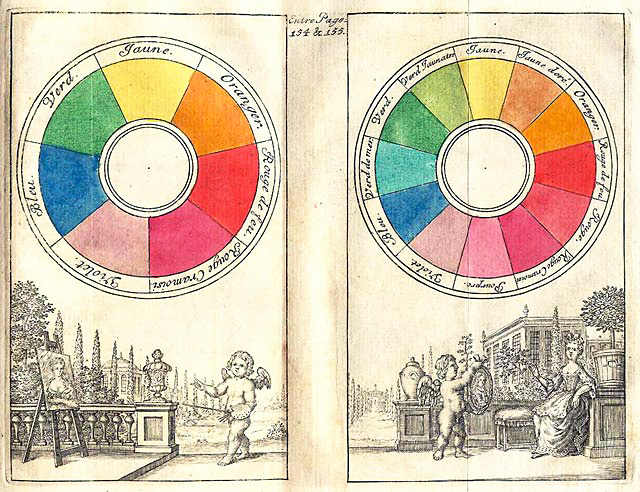
I've always thought of purple as a generic term for colors made from a mixture of non-specific proportions of red and blue. But this morning, when I read that the designated color for the Rainbow Scrap Challenge was purple, I wondered if I'd been walking around with a misconception and that it meant something more specific.

In the traditional Boutet color circle (1708) that I found on Wikipedia, purple is shown between crimson and violet.

Wikipedia also contains some interesting history and associations of the color purple and is the source of some interesting factoids about the color.
For example, the French call the color on this shield "pourpre" (purple).  French and German purple contains more red and less blue than American or British purple.

Who knew?  Purple is not only NOT a generic reference, but it can mean different colors in different parts of the world?

For my purposes, I decided to hold onto my misconception and regard it a a general reference to those colors between blue and red. At my house, my stash is stored, by color, in these no-longer-available, stackable bins from The Container Store.  Small scraps are also stored by color, in recycled plastic containers in which lettuce and spinach are sold. Here are my "purples," along with some pink scraps.


As you can see, sorting by color and folding to fit is as far as I go with my fabric organizations.  When you look in the bins, large or small, there's a mish-mash of color and print in no particular order.

Today, when I pulled out the purple bins, I wondered if maybe I shouldn't sort them a bit each month, as part of the RSC.  But instead I made a scrappy purple Oak Leaf block for April. Now, there are four.

Four Scrappy Oak Leaf Blocks

I'm joining the first purple party for Scrap Happy Saturday and the Let's Blog About Fabric list on the Block Lotto and asking you ... how are your fabrics organized and how organized are your fabrics? 

Thursday, April 03, 2014

Spring Challenge - a Beginning and a Goal

My goal for April's Lovely Finish is to complete my project for Victoria's Spring Challenge on the 15 Minutes of Play blog.

I have a start: a sketched idea and a circular piece of fabric made from skinny pink scraps–leftovers from the heart pins that I just couldn't toss ... it's a sickness.

Tuesday, April 01, 2014

Sewing the April Lotto Block - Three Ways

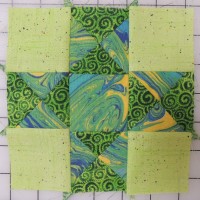
This morning, I'm asking myself why, when there are multiple ways to make a block, I try to include those choices in the block patterns I create for the Block Lotto. It would be so much easier to create a simple pattern with one path to the finished block and leave it to everyone to figure out possible alternatives on their own.  It's probably because I love that there's rarely one right answer when it comes to accomplishing a quilt design and, in my way, I hope to spark that interest in learning new ways to see a quilt block in others. You can find the Triangles in a square block pattern here:

Triangles-in-a-Square Block Pattern

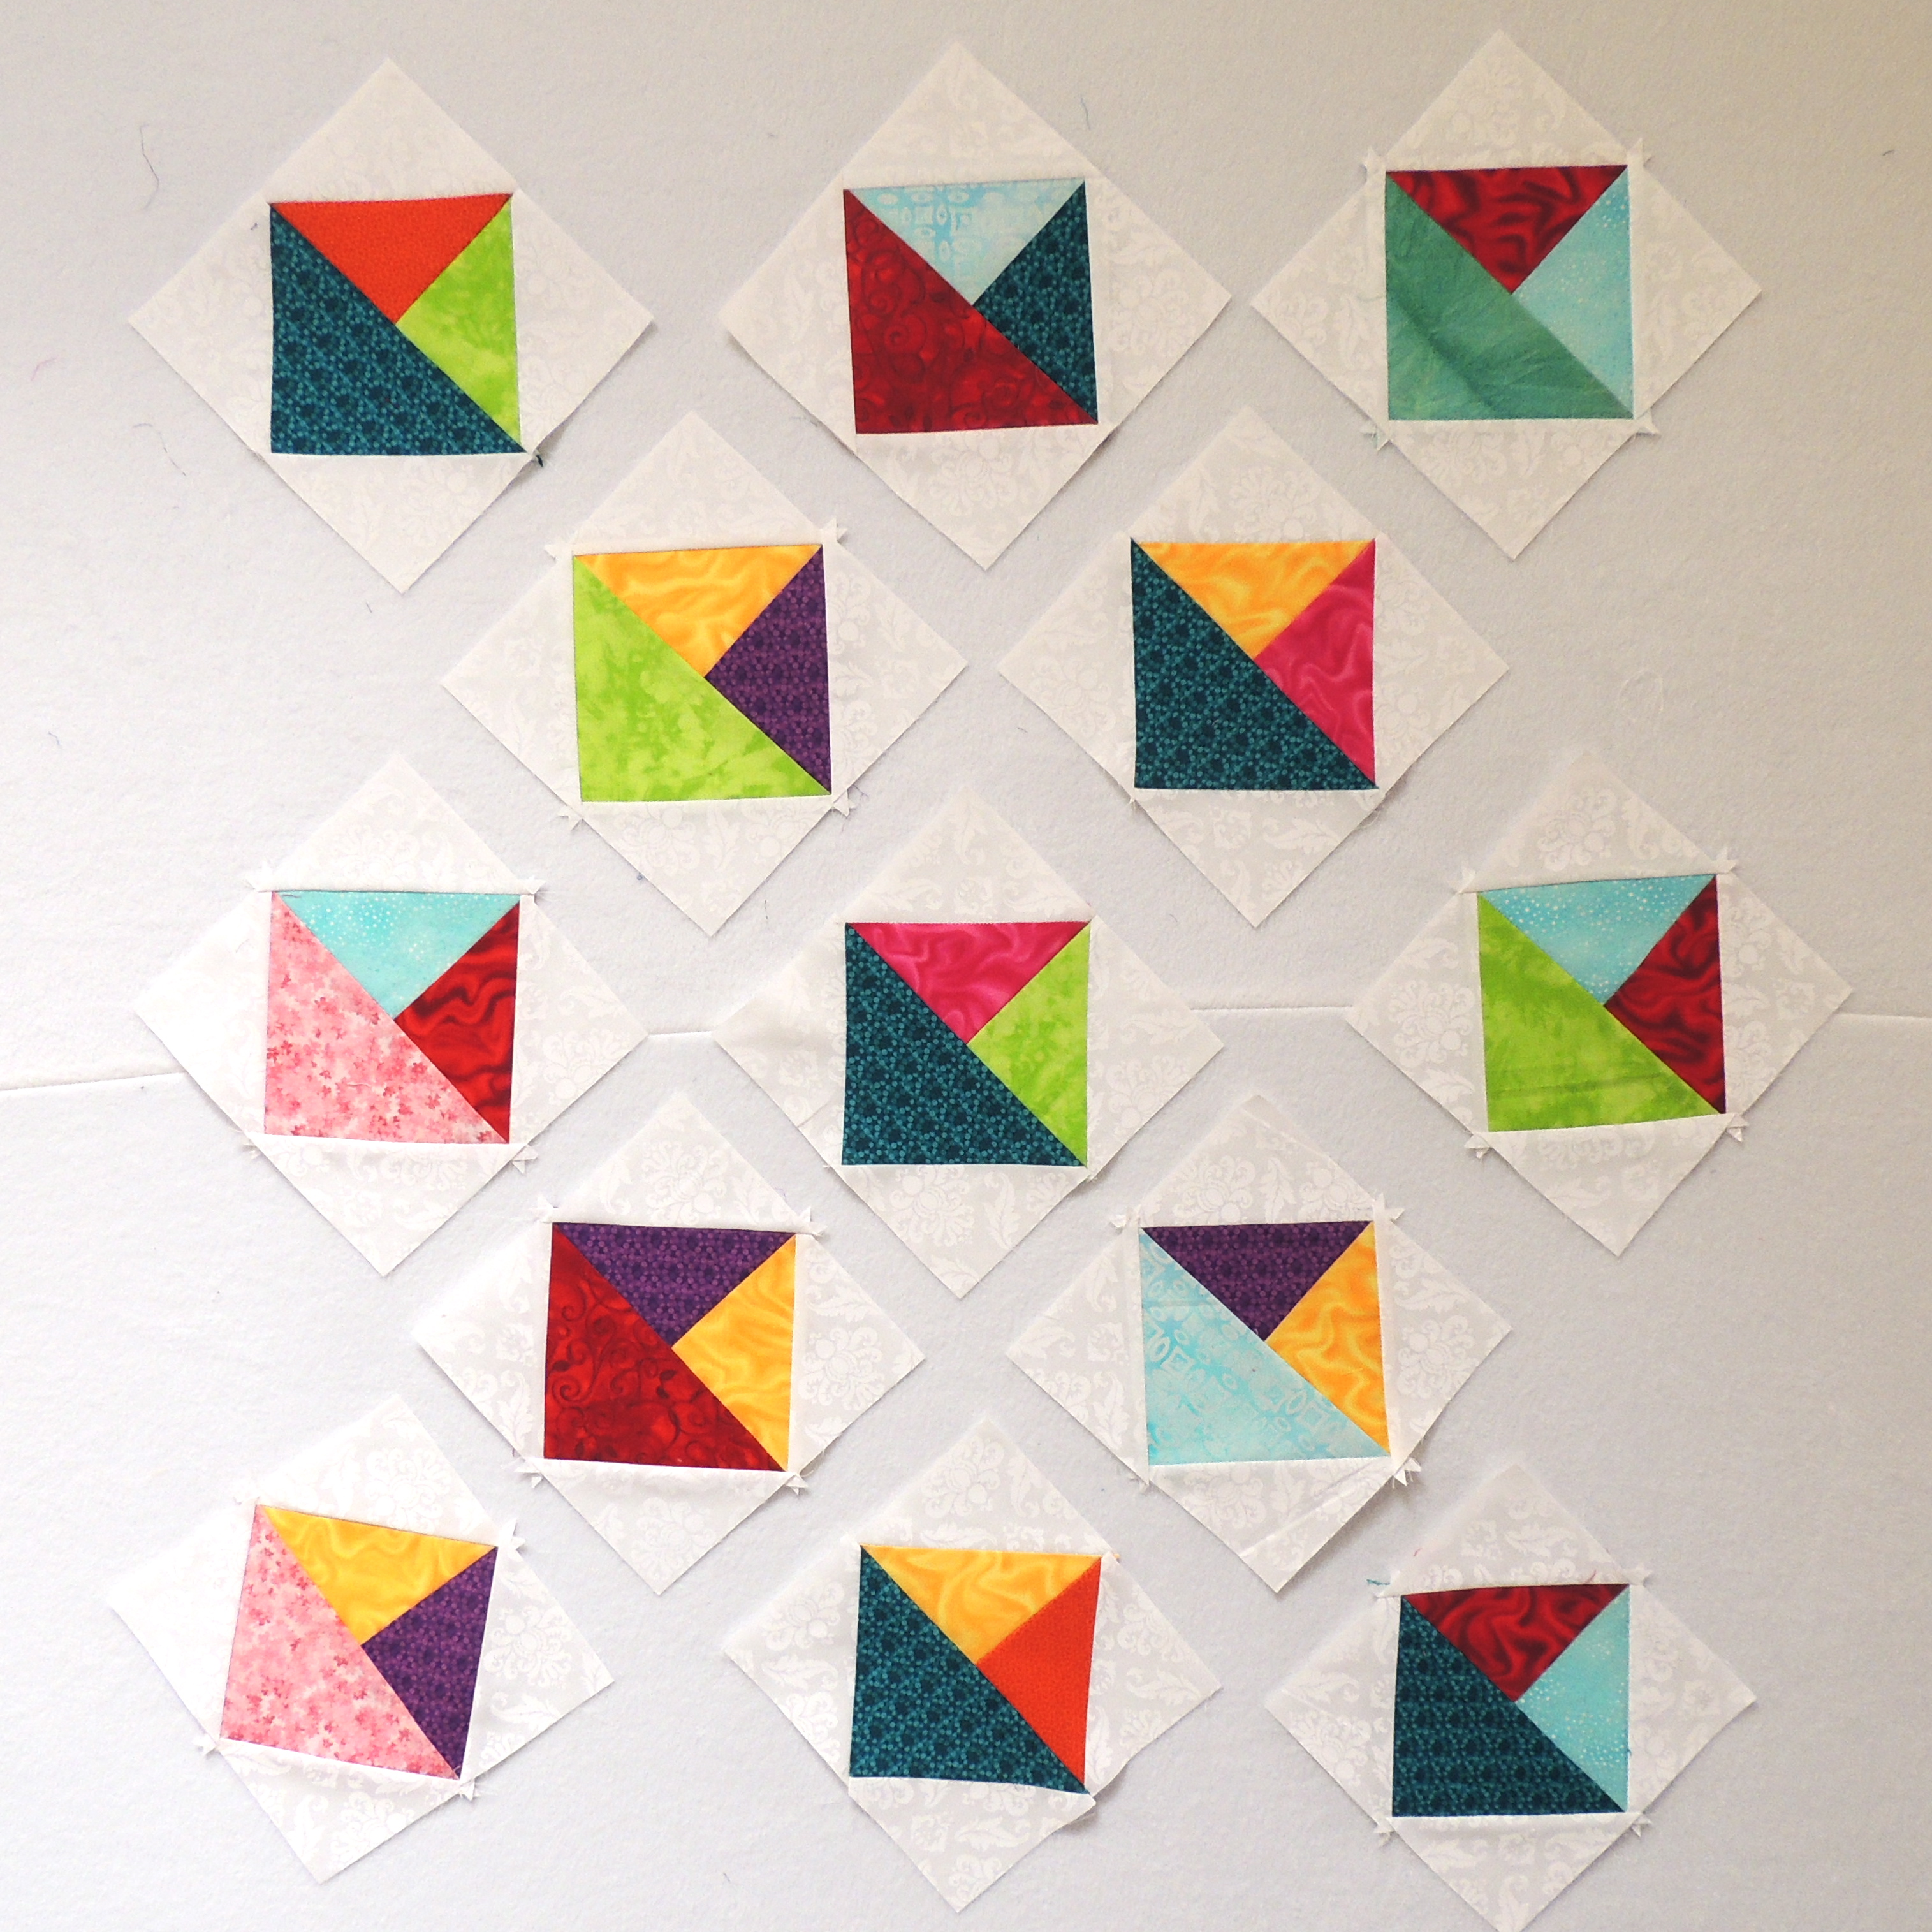
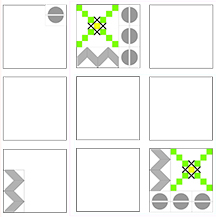
Whatever the reason, this month's block pattern for the Block Lotto includes three approaches to making the block, along with cutting directions for making multiple blocks that follow the guideline of making each block with a unique 3-color combination (combined with white), with no waste. To test my directions, I made blocks following all three methods, 4 from Method #1,  8 from Method #2 and a single paper-foundation pieced block, Method #3.


I couldn't share my design wall yesterday for Design Wall Monday, but I'm joining the party today.

Method #1 Notes


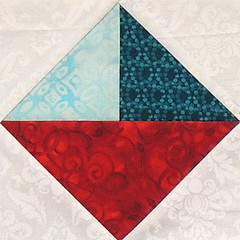
In Method 1, the 7-inch square (finished size) block is constructed from one flying geese unit plus two half square triangles.

I used the no-waste method for making flying geese, 4 at once.  When you choose fabrics for 4 blocks, it helps to keep in mind that the one used for making the FG units will become the large triangle in all four blocks and will be combined with all other fabrics.  The other four fabrics are sewn into half-square triangle (HST) units with white and then combined in pairs with unique combinations.  It was quick and easy to chain sew all the units needed for four blocks, arrange them and finish the blocks.


Method #2 Notes


In Method 2, you first construct the 5-inch (finished size) center–which is half quarter-square triangle (QST) and half half-square triangle (HST), then add white triangles to put it on point to create the 7-inch block.  To make unique 3-fabric combinations with no waste, you make these blocks 8-at-a-time.

Besides the white background, you'll choose eight fabrics–four will be used in the HST half and four on the QST half of the center squares. I didn't do well choosing fabrics for this set of blocks because it wasn't obvious to me (until it was too late) that each of the small triangle (QST) fabrics (the larger squares) will be combined with each of the large triangle fabrics (HST).


As I assembled the centers, I saw how the two blue fabrics and two red fabrics, though different, were just TOO similar.  I decided to remake them by replacing the large triangles (the HST halves).  Here are the before and after versions.


After I was happy with all the centers, I added the white triangles to put the centers on point and finish the eight unique 7-inch (finished size) blocks.

I was feeling a bit wasteful about those fabrics I'd replaced until I realized I could use them for Method #3, the paper-foundation pieced block.    Alls well that ends well :-)

Method #3 Notes


A couple sneak peelers had problems printing the foundation (on page three of the block pattern) and we figured out that if the shrink to fit option is selected, the foundation will shrink slightly and while not enough to be significant in the 1-inch block printed on the page ... the block will be too small.   Be sure to also double-check the measurement of the outside box–it should measure 7 1/2-inches square. Here's my single paper-pieced block.


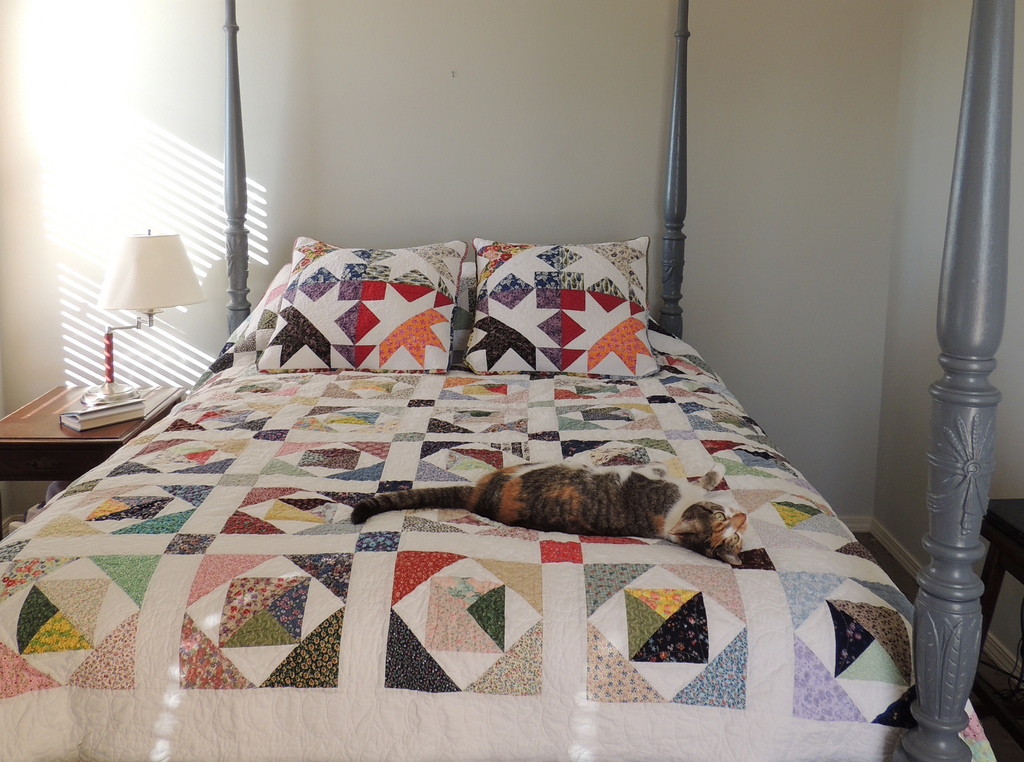
The inspiration for this block came from a scrap quilt made by me a long time ago. The 7-inch block is inside the 10-inch block in this quilt: 


You can make these 10 inch blocks from the Triangles-in-a-Square by putting it on point, adding triangles (from squares cut 5 7/8-inch, halved diagonally). 

The color-way for the April Block Lotto was suggested by Kim–it's the one used by the Vancouver Modern Quilt Guild last year for the To Boston with Love project.  Since I had often thought about remaking this quilt in those bright, clear colors, it seemed like a perfect match to me. 

For more information about this month's Block Lotto and a peak at the virtual quilt (made from photos of 55 of the blocks already made), here's the link: 

Monday, March 24, 2014

Allergies or Ennui?

Despite my best laid plans, I didn't participate in the Friday Night Sew-in or work on my Tea Towel Challenge quilt this weekend as planned.   I might be able to attribute my not-great feeling lately to allergies (proof Spring is really here), life's stress at the moment or just plain ennui–I just didn't feel like working on quilts and so ... I just didn't work on them.

Whatever it was, by Sunday afternoon, it had passed and I made some April blocks for the Block Lotto–which I can't share publicly for another week, though some will get a sneak peek later today– and these Briar Patch blocks from Teal scraps for the Rainbow Scraps challenge. 

As I was sewing the paper foundation pieced blocks, I thought about how it was one of those old projects that I would likely never have picked up again if not for the rainbow scraps challenge.  While I don't hate paper-piecing, I don't think I'd ever choose to make a large quilt of paper-pieced blocks.  Making them now, a few blocks each month as part of the challenge, makes them completely do-able and not at all tedious :-)
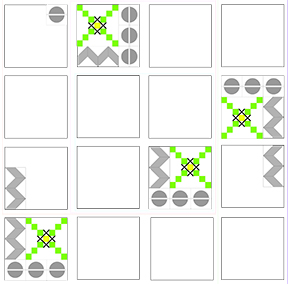
It has me thinking about how to structure some other golden oldie un-finished projects that I know I'd like finished but don't excite me so much now into manageable bites of time and effort.

This morning, I pulled out the 22 blocks made so far: 4 red ones made in a workshop with Judy Niemeyer, long ago and far away, the rest made so far this year from rainbow scraps.


I'm joining the lists for Judy's Design Wall Monday and Angela's Scrap-Happy Saturday ... even though I didn't get scrappy until Sunday. 

Wednesday, March 19, 2014

The Procrastination Project?

My Tea Towel challenge is still on the design wall, unchanged.

Instead of making a decision on that and moving forward, last night I played with the bits and pieces of the rejected black & white border idea.


The blocks are a scrapified version of the Star Chain block, and idea I've wanted to play around with since I made the first blocks for the Block Lotto; the strips and rectangles will be used with the blocks to test an idea I've had for a while ... stay tuned.  I could have made a better choice for the chain fabric, but I don't hate it enough to change it :-)

When I was finished making these pieces for a new project idea, there was a single 2-inch square left.

That's my work-in-progress this Wednesday. See more at Freshly Pieced.

Tuesday, March 18, 2014

It's a good time for a Friday Night Sew In

I don't know if I will have made the decision to go larger with the Tea Towel quilt by the end of the week–I'm still waffling not hat one, pull out some teal scraps for some more Briar Patch blocks, or focus on one of two more barely started projects that I haven't yet blogged about, but ...

I do know that I will be playing along with this month's Friday Night Sew in.  How about you?

You can sign up here.

Sunday, March 16, 2014

But Do I Call It a Border?

My 2014 tea towel challenge quilt project has become larger.  I decided that the piece that I shared a little over a week ago wasn't done yet and that it needed something more.  I had a few ideas for the design of the border:
  • Continuing the gray chains of the Star Chain blocks into a pieced border,
  • Adding a few of the small Ohio Star blocks
  • Using black & white prints to create a dark border to contain the quilt.
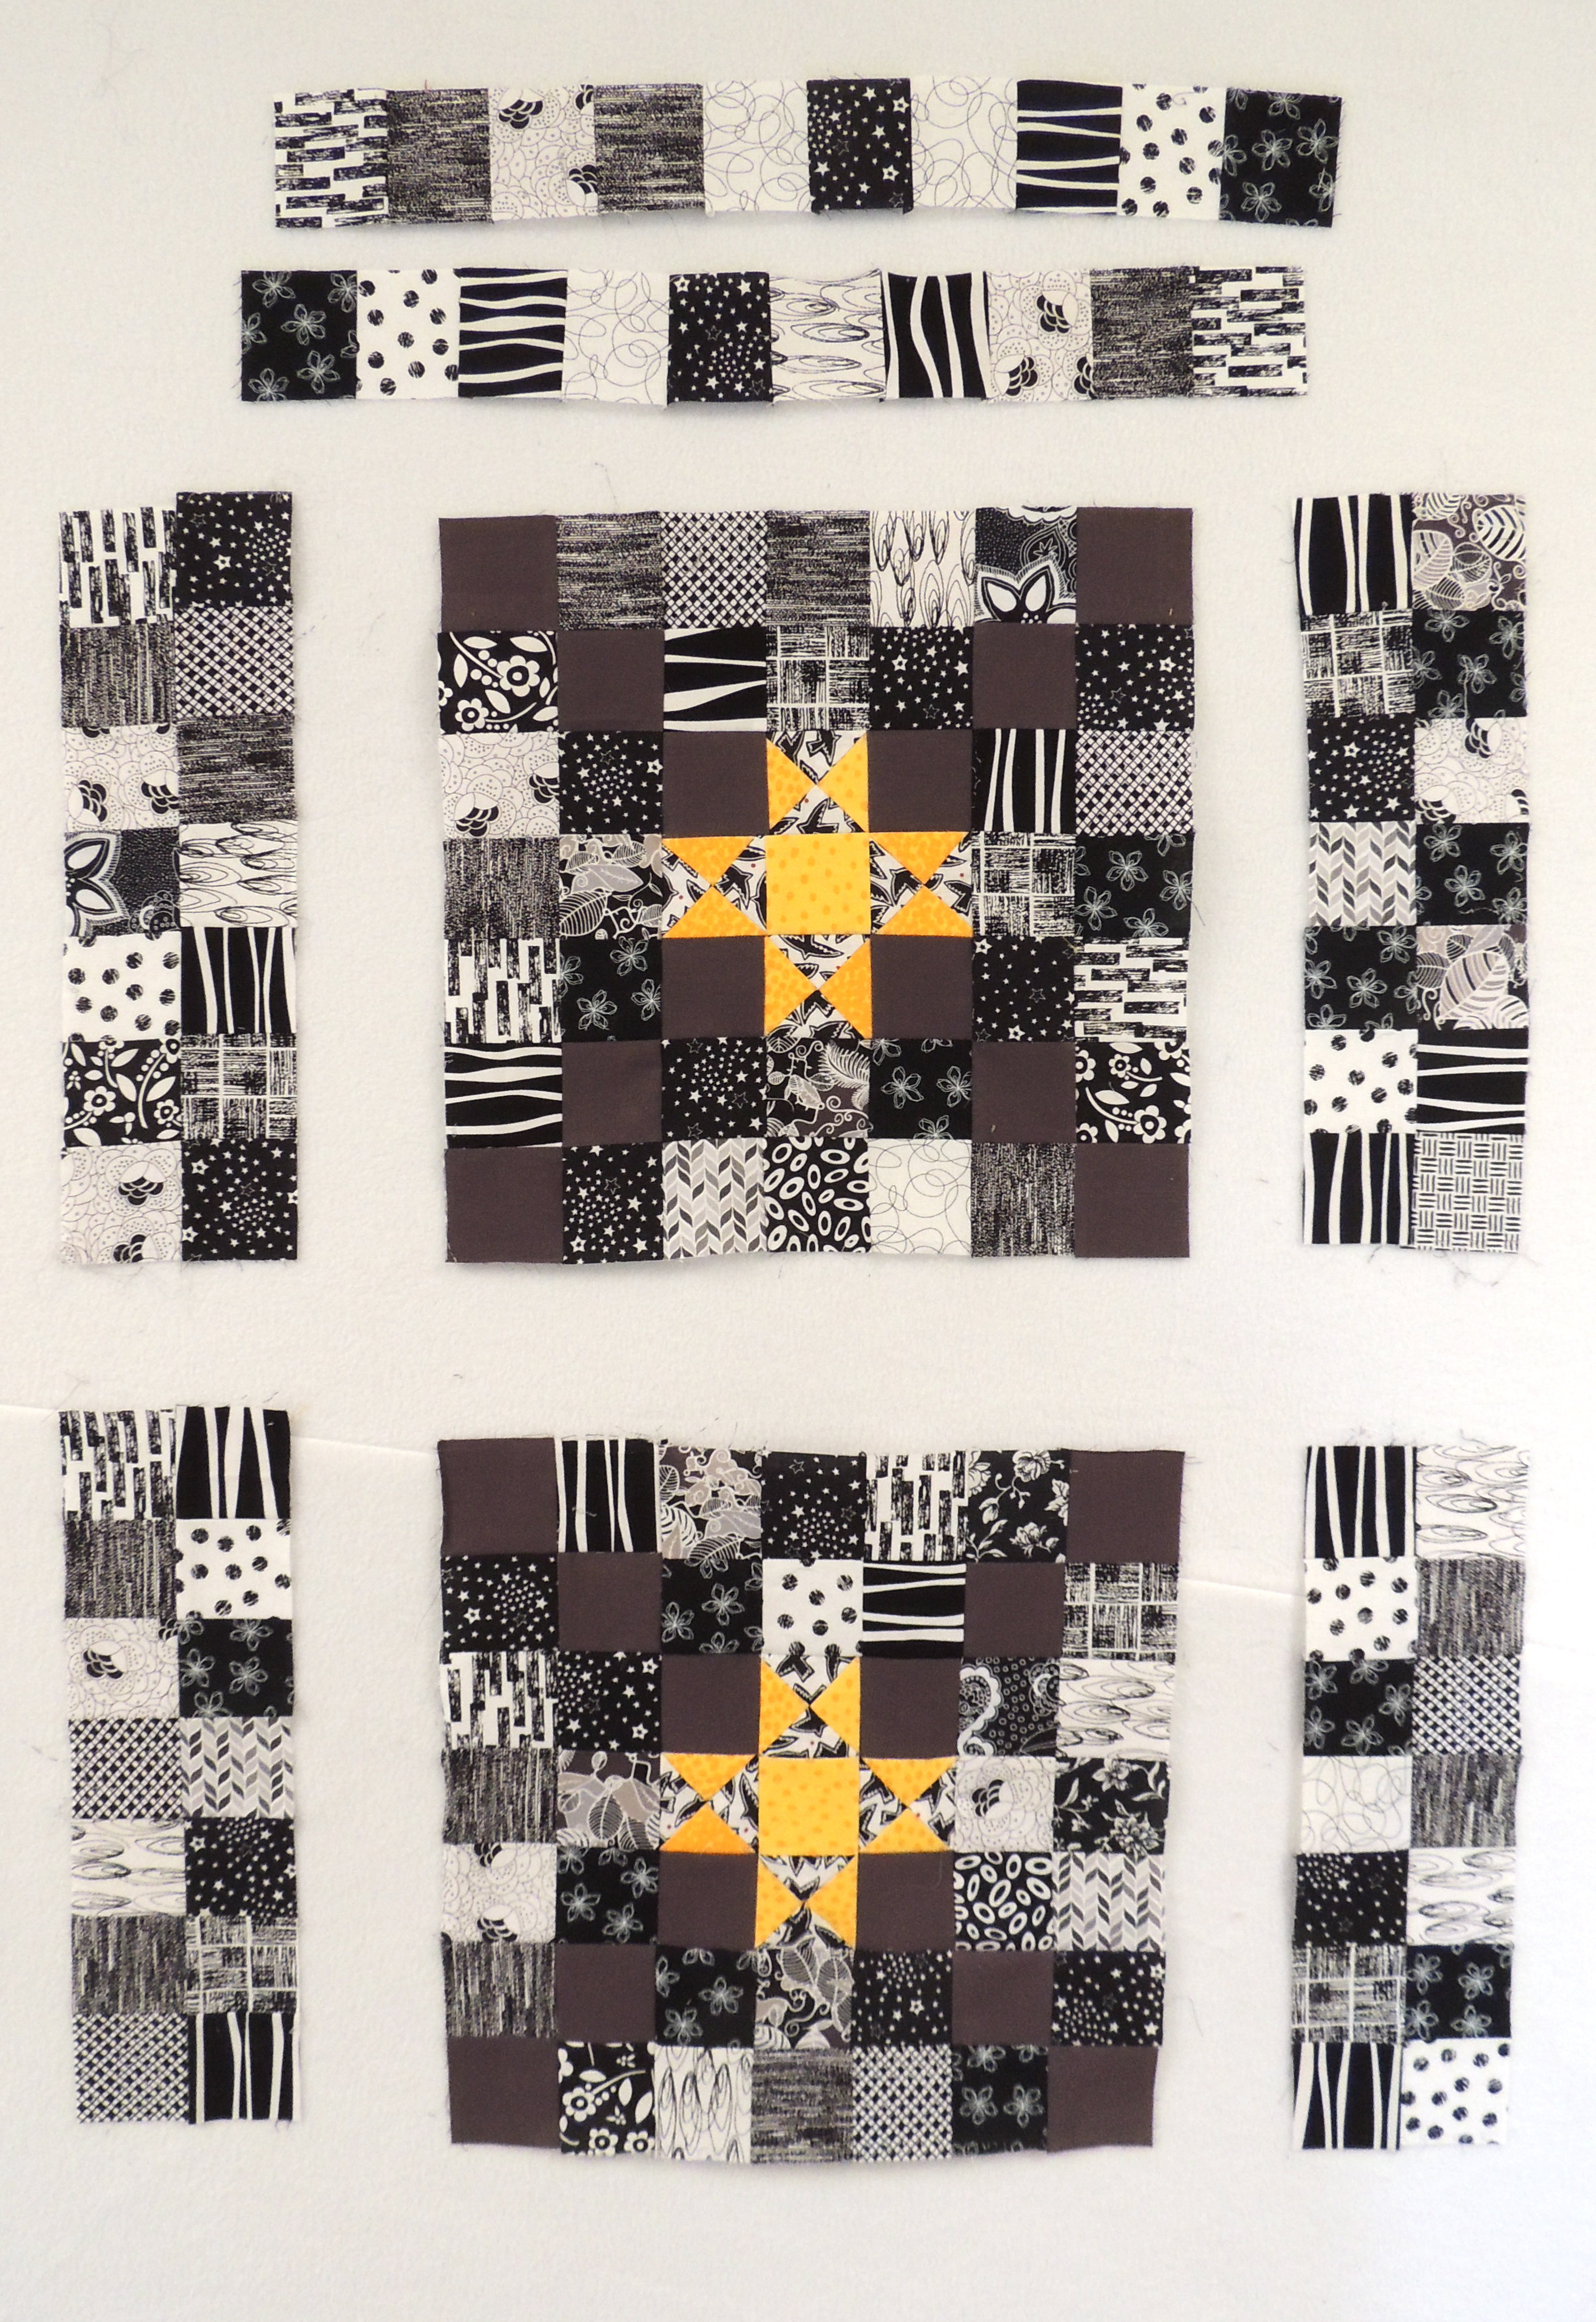
I made a couple stars and liked them.  I pieced a couple border sections from black and white prints with gray chains and liked them, but thought the border could use a random sprinkling of squares from the fabrics used for the stars (in colors from the balloon tea towel).  Fully committed to the idea, I cut many strips from black and white fabrics, sewed some strip sets and cut them up into 3-square units ... then I decided that, even with the addition of some colored squares, it was just too dark and constraining for this light, airy quilt.  

How I hate that feeling when you see how something is not working ... and how great is it when, once you edit your ideas and take it in a different direction, one that feels like you, the work seems so much easier/faster/better.

I'm not sure what I've added would correctly be called a border, but it was constructed as rectangle blocks, then long strips, like a border would be.

In addition to the stars, continuation of the chain, random colored squares, a few black and white squares were sprinkled in the borders.

This piece now measures 68 by 80-inches–much larger than I imagined my Tea Towel challenge quilt would be.

It occurred to me that by adding more traditional white, yellow and red borders, it could become bed-sized, but I'm waffling.  I also think it could be "done."


I'll leave it on the design wall for a day and see how I feel about it tomorrow.


Thursday, March 13, 2014

Smells Like Spring

My followers on Flickr have noticed that my big, male tabby now goes outside on a leash.  Despite the sounds of birds singing all around, he is usually most interested in tasting the various desert plants growing in my backyard.


Until recently he showed no interest in the evergreen piñon trees.  This morning, he couldn't get enough of it and stood on two legs to get a good whiff.


I figure it must smell like Spring.

Johnny's little calico sister, Grace Hopper, still stays inside, stares out the glass door and complains loudly ... but makes it clear there's no way she's going to wear a harness and doesn't really seem to want to go outside herself.

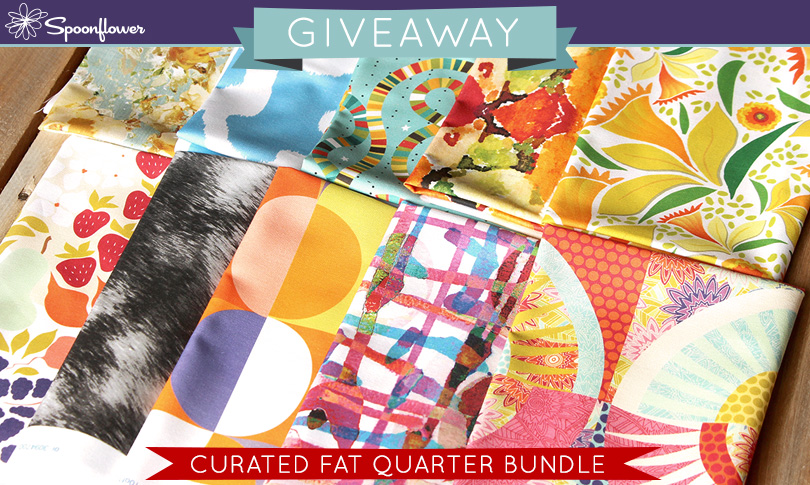
My own reaction to the near arrival of Spring is thinking about unpacking the summer clothing that is packed away and an attraction to spring-colored and themed fabrics like these–part of the latest giveaway from Spoonflower.  (Follow the link to sign up for your own chance to win this Spring FQ Bundle of Spoonflower fabrics.)


I'm joining the link on the Block Lotto–this month's topic is Let's Blog about Spring (or Fall).

Saturday, March 08, 2014

Snowy, Sleepy, Scrappy Saturday

It's not Spring yet ... I woke up to a gray sky and a frosting of snow ... perhaps the last before Spring?


The snow has since turned to a light rain and washed away the snow ... but the sky is still gray. The cats have joined me in the studio and settled into their morning cat naps on their perch. Seeing them in silhouette in front of the glass doors makes it obvious that Johnny Be Good is the big brother and Grace Hopper, the little sister. They are so alike in many ways ... but size is not one of them.


You can also see the result of some recent mysterious middle-of-the-night catastrophe.  I have no idea how the more desirable, tall perch broke off off from the pole base–I can only imagine that involved both cats claiming ownership before it came tumbling down.   I just came down stairs earlier this week and found it that way.

They settled in and were cat-napping away while I spotted the first bunny of spring hopping within a couple feet of the door.

The tea towel challenge quilt has been my quilting focus for most of the week, but I did make a scrappy teal oak leaf to add to my collection earlier this week.


These leaf blocks are 10 by 15 inches–one of the sizes I didn't originally include in the block pattern ... so I updated it to add the measurements for cutting the squares and rectangles needed for this size as wall as a large 16 by 24 inch leaf that could be make from charm squares.

You can download the updated block pattern here:

Oak Leaf Block Pattern in 6 Sizes

I love how these blocks, made in such unlikely colors for an oak leaf, are turning out.

This weekend, I plan to decide upon and sew borders on the tea towel quilt and play some more with teal scraps.  It's just too wet and gray to be out-and-about and just right to stay inside and put something in the crock pot to cook while I quilt. 


Thursday, March 06, 2014

Stop Overthinking It!

When I restarted my tea towel challenge with a new tea towel–actually a pair of coordinating tea towels–my mantra was STOP overthinking it.

I won't say that my tendency to think-think-think a project is the only thing that completely blocked me from moving forward with the fairy tale tea towel, but it was definitely a factor ... and since I am being completely honest, I find that I am still (over) thinking about the challenges of working with that one.

The mantra seems to be working for me and, at last, I have some Tea Towel Challenge progress of my own to share.


Followers of the Block Lotto will recognize the Star Chain blocks, which are this month's block for the Lotto, and will also see how the same quilt that inspired the Star Chain block design also inspired the design for this quilt.

I do hope that Céline believes that imitation IS the sincerest form of flattery.  I loved her Maisy quilt and immediately saw design possibilities in it.  Over on the Block Lotto blog, I suggested using large floral prints with the green Star Chain blocks we're making in a similar design, and when I started thinking about what to do with my pair of coordinating hot-air-balloon tea towels, I was clearly still thinking about the Maisy quilt.

Now, I find myself in that place that Laurina blogged about a couple weeks ago and I, too, am asking myself, is it done yet?

I may have fallen into old habits and be overthinking the answer to that question a little too much.  Some considerations are that since itt has turned into a bigger quilt than I imagined–it now measures 56 by 68 inches–maybe I should go for it and make it large enough for a bed?  One practical challenge to making it any larger is that I have all but used up the white-on-white fabric and since I bought the last of the bolt, I won't be able to find/buy more.

I'd love to know what you think: Is it done?  Does it need more and if so, what?

Wednesday, March 05, 2014

The Mod-Mod-March Update

Since I spilled the beans on the Block Lotto about how the January, February and March blocks combine to form the first module of the Mod-Mod quilt, quite a bit of progress has been made, in advance of the usual mid-month-update ... So I went ahead and published it early, yesterday.

Here's my progress.

For my Queen-size quilt, I added some aqua to the mix with these four Star Chain blocks.


Once I combined these with the Double Chevron and Bead-on-a-String blocks to create the first modules, I couldn't resist arranging them on the design wall in an approximation of quilt layout.  


I have already shared my Rainbow Scraps Challenge version of the quilt, which I'm making as a throw-sized quilt made from a total of 9 modules.


There was more playing on the design wall with those, too. I think this will be more fun when there are more blocks than white space ...


If you are beginning to like what you see, it's not too late to grab some fabrics and play along.  You can make a quilt in one of 6 sizes, from a small square (42 inches) to a big king-size bed quilt (105 inches square).  Here are some links on the Block Lotto site to get you started: 


Introduction and January update: It's a Mod-Mod Quilt-Along

While you're there, you can also check out some of the other Mod-Mod quilts in progress.   You'll also find all the block patterns there, as well as on my Free Quilt Block Patterns page.
I'm joining the WIP Wednesday lists on Esther's Blog and Freshly Pieced.

Tuesday, March 04, 2014

What Can't Go on a Pizza?

Last weekend, I felt like pizza, but didn't want to go out in the cold rain.  I had ingredients in the pantry for making crust, but none of the usual toppings–I really need to shop for groceries soon.

That's how this very green pizza happened.


It has pesto, a couple of mushrooms and lots of sliced up Brussels sprouts and green onions.  I had just starting to grate some Parmesan cheese on top before I popped it in the over when I took this photo.  I confess that I was so hungry when it came out again, that I gobbled it up, sans photo.

I didn't know if it was even going to turn out to be edible, but it was surprisingly OK.  It got me thinking about other unexpected things one might put on a pizza.   Any suggestions?

Monday, March 03, 2014

Who Needs an Alarm Clock?

A beautiful sunrise will motivate me to get out of bed and enjoy it more than an alarm clock ever does. Today's was especially brilliant. I was up earlier than ever, and ran downstairs to grab my camera to take some photos before the colors dissolved into daylight.


While standing on the frosty deck, barefoot in my pajamas, trying to capture those brilliant colors and layers, a flock of birds circling to the north caught my eye. Every time I tried to capture them in a photo, they changed direction.


I couldn't figure out what was going on until they dropped from the sky and I zoomed in to find them taking a break on a wire.

Sunday, March 02, 2014

Do All Greens Go Together?

It's a cold gray wet weekend in Santa Fe, so I spent Saturday afternoon inside making more of the broken dishes blocks.  I only needed 4 more generically green blocks and I had quite a few green bits and pieces cut and sewn.


I decided to use the existing triangles and half-square triangle units and add aqua and teal to them. The notion of combining all those variations of "green" together reminded me of an appliqué class, taught by the late Patricia Campbell, about 10 years ago, on a cold and snowy January day in Michigan.  Along with teaching us great hand-appliqué technique, she suggested that all greens go together, and invited us to imagine what the view outside the window would be like in spring or summer, when all the different greens found in grass, leaves, stems, trees, shrubs, etc., would create a beautiful landscape.

I remembered that day and suspended disbelief as I put together my four "green" blocks. These are 8-inch blocks (finished size), each made from 16 half-square-triangle units that measure 2 1/2 inches (2 inches finished size when sewn into the block.)


And here they are mixed in with the 17 previously made blocks, which also contain a few teal fabrics, on my design wall.


What do you think?  Can all greens go together or do you have rules about which ones play nicely?

I'm linking up with Angela's Scrap Happy Sunday for the Rainbow Scraps Challenge.  Go see what others have already done with the new colors for March, Aqua and Teal. Then check everyone's  design walls on Judy's Patchwork Times for even more work in progress.

Saturday, March 01, 2014

Tea Towel Challenge 2014 - The Show & Tell Linky

Join me for the Tea Towel Challenge 2014As you know, after making ZERO progress on my tea towel quilt, I've decided to do something else, in hopes of priming the creative pump and getting some new insight into my tea towel quilt.  I hope this approach will mean two finished tea towel quilts from me soon ...

I know I'm not alone in my month of tea towel stuckness.  But, while some of us struggle, others have made real progress.  So, for those who are making real progress, here's the Linky for the show & tell for your finished Tea Towel Challenge quilt.

Based on my own stuck February and that of others, I have decided to extend February's Linky for showing your progress and this one, for sharing finished quilts.  These lists are now open as follows:

In-progress:  February 1 - March 31
Show & tell: March 1 - May 31

Please add your links as appropriate for wherever you are in your tea towel journey.  All the Linked lists appear on the Tea Towel Challenge page.

Sewing the Star Chain Block

When I select fabrics to make my blocks for the Block Lotto, I do the opposite of what you might do when making blocks for a quilt–I try to take the fabric guidelines in as many different ways as I can to see if they will still play together nicely and so you will often find me using very old fabrics–like in this blocks which contains two of the oldest fabrics from my stash, new fabrics, solids, batiks, hand dyes in a range of colors.  Usually you'll see examples of low contrast alongside high contrast blocks.

This month, we are making big 14-inch finished size blocks and so the maximum to enter into the drawing for lotto blocks is four.  Here are my very diverse four.

Even though I probably wouldn't have put these fabrics together in a quilt, once they were on my wall, I fell in love with the idea of using this block for the green scrappy quilt I have always wanted to make. I was secretly hoping that the designated color for the Rainbow Scraps Challenge (RSC) would be a more generic green as a reason to make that scrappy quilt now ... but it may happen anyway with no reason other than I want to.

I have made a pair of these blocks in Aquas and Teals for the RSC–they will be part of my Mod-Mod throw.  Here they are with the Blue and Pink blocks made in January and February.


Choosing fabrics may be the most challenging part of making this block–whether you are making it for the Block Lotto and following those guidelines or making it for your own projects.  I strongly suggest making the star center first so you can see all three fabrics together and decide if there's enough contrast for your liking.  One of my four lotto blocks started out looking like this ...  although I loved the fabrics together, I didn't love this, so I used a dark red-violet solid for the star.

For the background, Fat Quarters work well–the 4-patch corners are quickly made from 2 strips that are 20-inches long, approximately the width of a FQ or half a width of fabric (WOF) if you're using yardage.

Once the fabrics are chosen and cut, the block goes together quickly.

The star center is a variation of the Ohio Star block with the chain fabric in the corners.

I started with the large squares cut the exact size needed to make the quarter-square-triangle (QST) units, but a lot of quilters like to cut larger and trim to size.  I think this is a pretty good step-by-step tutorial for making them:

Quarter Square Triangle Tutorial

The author is making larger units–for our block, you’ll be starting with the 3 1/4-inch squares (3 1/2 if you like to cut larger and square-up and trim) for 2 1/2-inch quarter square units (to finish at 2 inches in the sewn block.

The star center is constructed 9-patch fashion, using the 5 small squares and the 4 QST units.

I made the 4-patch corners using the long strips, sewing them together, cutting them into 8 units which became my four 4-patch corners.


If you are working with smaller than half a WOF, you could make a pair of strip sets using 10" long strips or make the 4-patches individually from 2 1/2-inch squares.

The large block is constructed, again, like a 9-patch, adding the large rectangles.  In my mind, as I make the block, I think of the process in two steps: make the small 9-patch (star center), then make the big one (and complete the block.)


You can read more about the inspiration for this block pattern and details for this month's Block Lotto here: 


You can download a copy of my block pattern here: 


It will also be available to download from my Free Block Patterns page soon. 

While I cannot explain why I find it so appealing, I definitely see more of these blocks in my future. 
Related Posts Plugin for WordPress, Blogger...