A strange noise invaded my environment Friday night. When it woke me up before sunrise on Saturday morning. I had been dreaming of jack hammers and, once awake, I wondered if it was possible that the crew rebuilding a parking ramp on the other side of the building could be jack hammering in the dark that early on a weekend. Unlike this guy, I wasn't smiling.
After I woke up and poked around a bit, I realized it was coming from somewhere in the building but it wasn't anything inside my apartment. When the Property management office opened, I went downstairs and asked them to help.
I won't bother you with the details of the unreturned phone messages and promises made (and apparently abandoned) by everyone on staff here over the past five days. If you have been reading this blog for a while, you know that the design fault which causes my 6th floor loft to flood whenever there's a big rain has still never been fixed . . . nearly a year later and that's pretty typical of "property management" here.
Over the last five days, the noise became louder and louder and unfortunately, was loudest exactly where my bed is. I've been getting less and less sleep until last night, it was so loud that I couldn't sleep at all. Extended sleep deprivation definitely makes you grumpy. When the office opened this morning, I went down and YELLED at them to fix the noise in the loft directly above me ... which coincidentally has been left vacant since the first flood because "it leaks." After my hissy fit in the building office, I walked to the coffee shop for some caffeine–there was no way I could get through the day without it–and some peace and quiet. While I was there, the office called and told me that "the water hammer" was broken in the unit above mine and that it has been fixed and the AC turned off. I came home to a blissfully quiet loft and am looking forward to bedtime tonight.
By the way, "the water hammer" isn't really a piece of plumbing hardware to be fixed, as the person who left the message for me explained, it's a specific plumbing noise. if you're curious or if you start hearing jack hammer sounds from your pipes, you can read about it on the How Stuff Works site, here:
How To Stop Water Hammer.
So, what did I do all night for the past 5 nights when the noise was so horrific I couldn't sleep? I've been devouring mysteries. It's a good thing I live so close to the library, because I've been returning and picking up every day but Sunday. I caught up with the latest adventures of Janet Evanovich's Stephanie Plum (2 books), Marcia Muller's Sharon McCone (3 books) and one from Robert Parker's Spenser. I particularly enjoy the last two series because their characters live in cities in which I have lived–the San Francisco Bay Area and Boston.
My reading got me wondering if there are any light mystery writers who have series based in Dallas. I could have checked on Google, but I thought it would be faster to just ask, when I was at the library. I somehow imagined that people from Dallas who worked with books would know that kind of thing. The lady at the information desk ... Googled, then called upstairs and asked, then sent me upstairs to a man who had ... Googled and found a university site that had a list of mystery writers whose books take place in TEXAS. I confess I was disappointed. I really expected one of the three librarians I talked with to come up with a personal recommendation. But I took the printed list, wandered through the books and came home with two books set in mythical Kickapoo, Texas (mythically an hour away from Dallas) by Paula Boyd, who reviewers have compared to Evanovich. While Jolene Jackson was entertaining, her series seems to stop at three books and she wasn't quite what I was looking for ...
I doubt I'll need it tonight, but today, I returned the last published adventures of Sharon McCone, Locked In, and picked up the first in a series by William Manchee, who, according to one of the promotional blurbs on the back of the book,
could be Dallas' answer to John Grisham. We'll see how it goes . . . I'm still looking for that personal recommendation ;-)
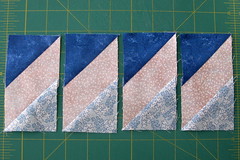
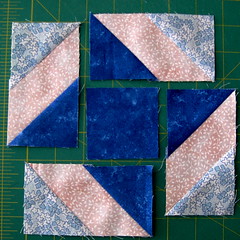
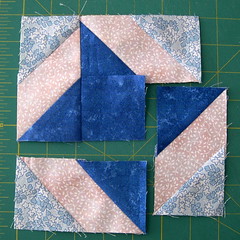
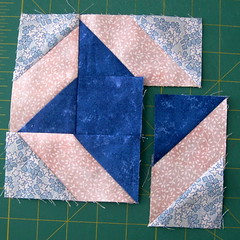
The other thing I did when I couldn't sleep was post some block instructions for a couple of wanna be Lotto Blocks that we never used. If you want to take a look, check out:
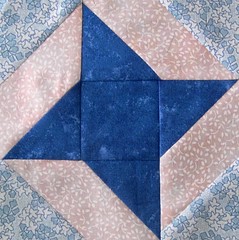
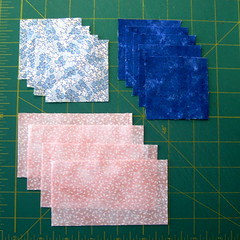
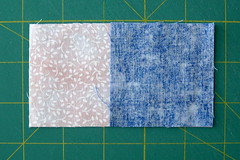
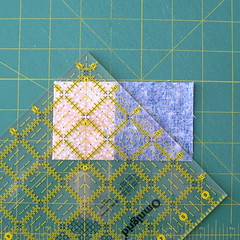
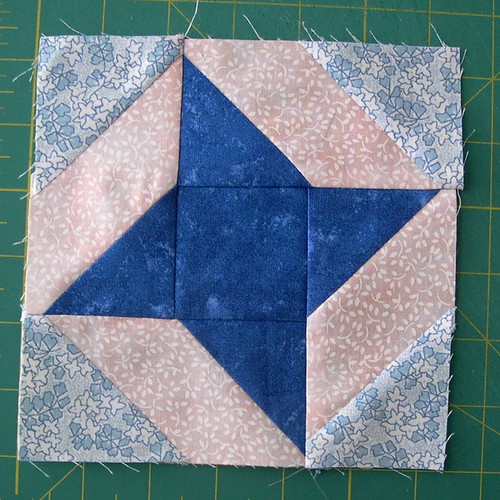
Quartered Star Quilt Block Pattern
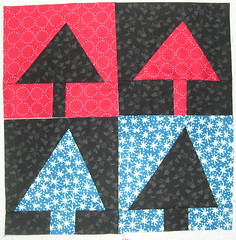
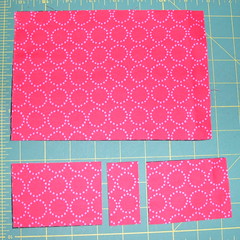
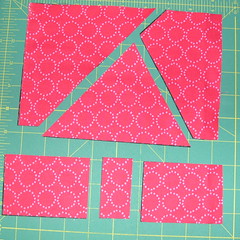
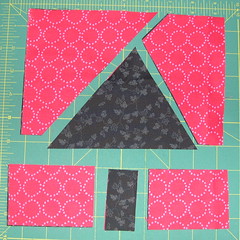
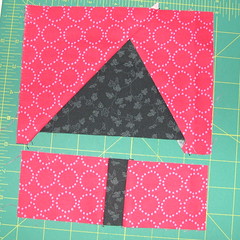
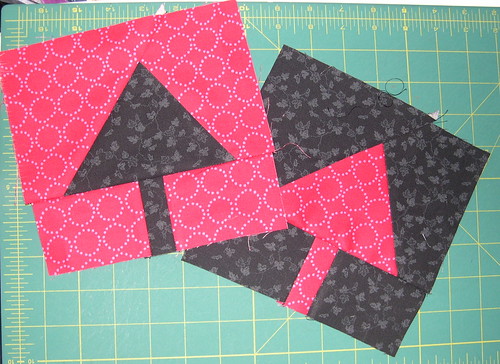
Free-style Tree Block
After I get some sleep and can think straight again, I'll be back with something much more interesting than this stream of consciousness . . . and photos ;-)

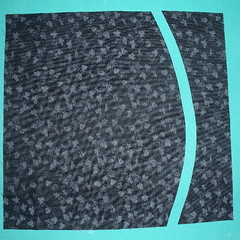
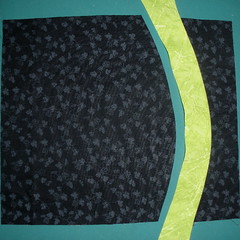
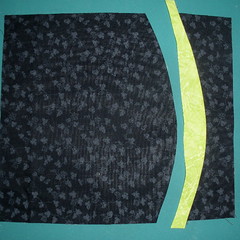
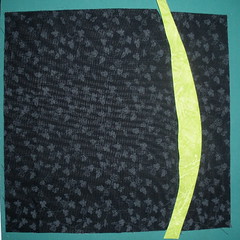
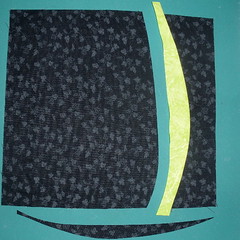
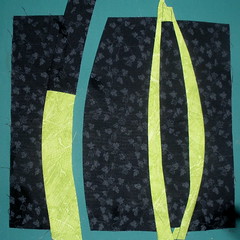
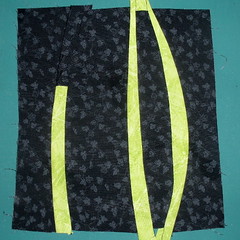
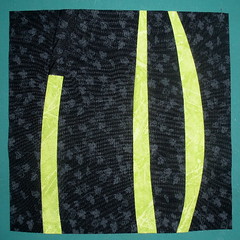
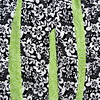
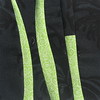
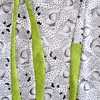
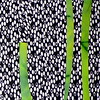
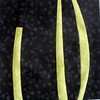
 The irregular, curved shapes in this block have an organic feeling and abstracted, natural look. I see reeds, but you might see green shoots or leaves of grass.
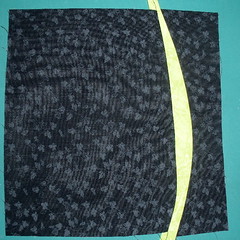
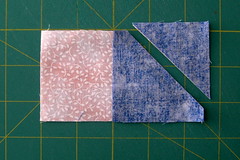
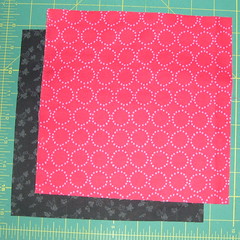
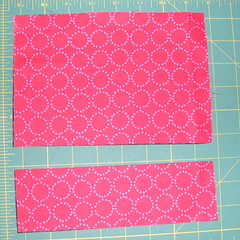
 Sew the two short bias strips together end-to-end and press toward the darker fabric.This join can be made at an angle–just be sure that your resulting joined bias is straight.