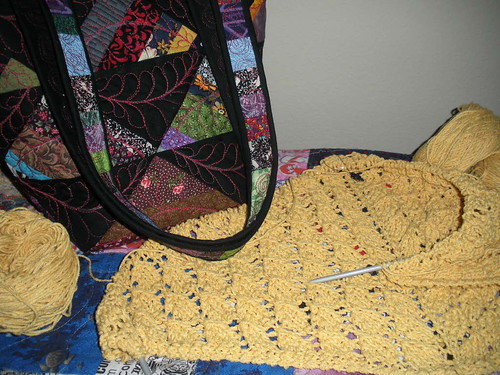
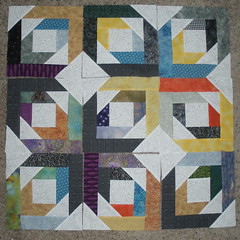
Every quilt has a story--here's the story of this quilt-in-progress thus far.
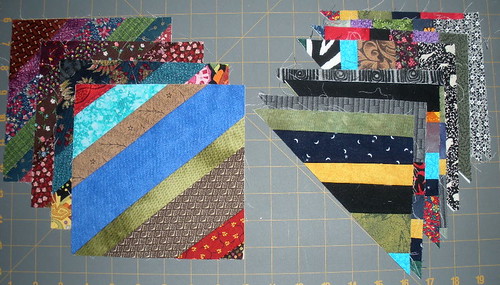
A few years ago I won a set of 6 inch square
string blocks in the Block Lotto. Half were made from light colors fabrics, half were made from dark strings. I always planned to use them as fabric, cut them up and do something, but my idea of what that
something was kept changing. Plus, whenever I had an idea, it always seemed to need more string squares . . .

Last winter during Nancie's Bring Your Own Stash (BYOS) class, while I was working on a very traditional looking quilt and
making my blocks from vintage feed sacks, inspiration hit and I decided I would make a variation of her road trip quilt using the string squares. I loved the totally different look you could get from the same basic unit.
I decided I wanted to use the dark and light values of the string blocks in my design and so I decided to make light and dark pieced blocks and alternate them.

Once again, I knew I was going to need more light string squares and so, in February,
I made some.
In February, in the block lotto, we were also making string blocks and turning them into heart blocks with dark backgrounds. I really liked the look of
those blocks and decided to use a bundle of dark, neutral hand dyed fabrics that I had purchased by the pound at an incredible
yard sale at the MSU Museum. Although there are deep blues and reds and violets in those fabrics, they make me think of chocolates . . . and I have come to think of this quilt-in-the-making as Strings & Chocolates.
This afternoon, I pieced the string borders. Since the string fabric in the blocks was pieced on a foundation fabric, I cut a dozen 7 x 19 inch rectangles--sized to to keep the "blocks" manageable--from muslin and chose strings that were medium-to-dark to tie to those almost disappearing blocks made from the dark strings.
I had planned to put string pieced fan shaped blocks in the corners of the border, but after I spread the top on the floor and laid the border rectangles around it, I knew that the corners should be mitered to echo the mitered look of the center of the blocks. More foundations were cut and I returned to the bottomless bag of fabric strips and put together some smaller rectangular string blocks to extend the border on each side long enough for the mitered corners.
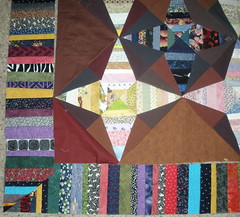
I ran out of steam before I could finish, but all the string pieces for the border are done and–even just folded into place--I can already tell that I like the revised, mitered border design very much.
Check out the projects on more design walls/floors/tables on Judy Laquidera's
Design Wall Monday blog post.
 This simple 6 inch by 9 inch (finished size) block was influenced by the proportions of the golden rectangle.