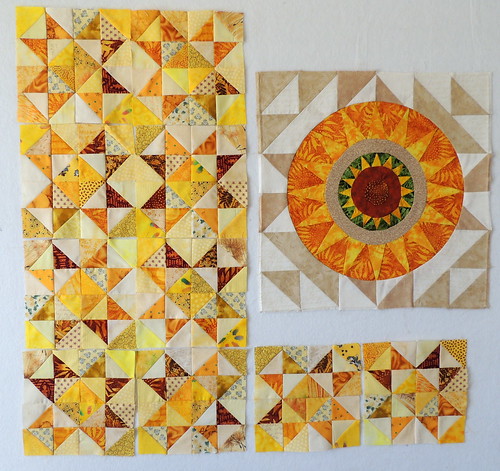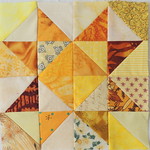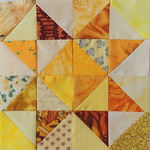
As 21st Century quilters we are blessed to have a plethora of patterns, tools and technology available to help us design and make quilts. So what I am doing with this stuff?
In January, when I had to come up with a replacement for a missing 12th block for a hand-pieced block of the month, I discovered the elegance of designing a block by hand, using a compass and a technique as easy as folding paper to divide an arc into even segments. I enjoyed the process so much, I knew I wanted to design more blocks this way ... and that's how I decided a summer project: 12 original blocks, pieced by hand, one each week throughout summer.
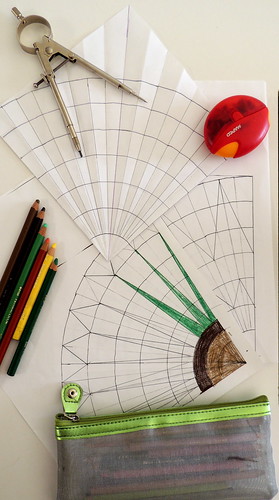
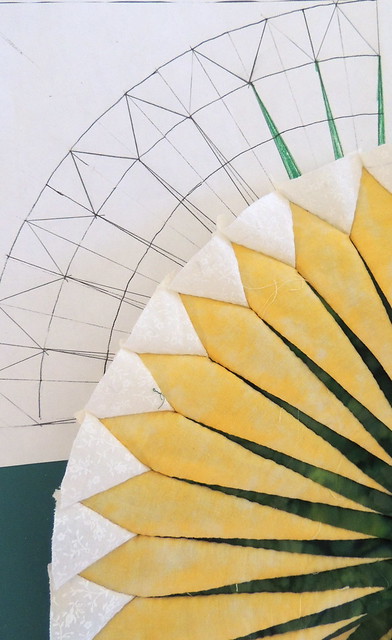
I started by making the quarter-circle template at the top, using the compass to draw arcs in 1-inch increments, then folding it half and in half again (and again) to create 16 equal segments. I used a rule to draw lines on the creases and then made copies of the template on which I started doodling and coloring block ideas.
Today, I'll be cutting the pieces for the block in the photo. The sketch peeking through underneath is the proof of concept block I shared earlier this week.
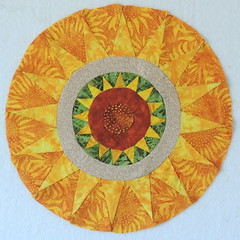
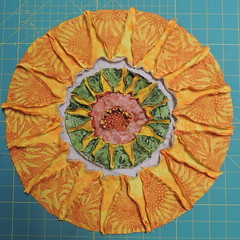
Here is the pieced circle, front and back, before it was pressed and set into the background
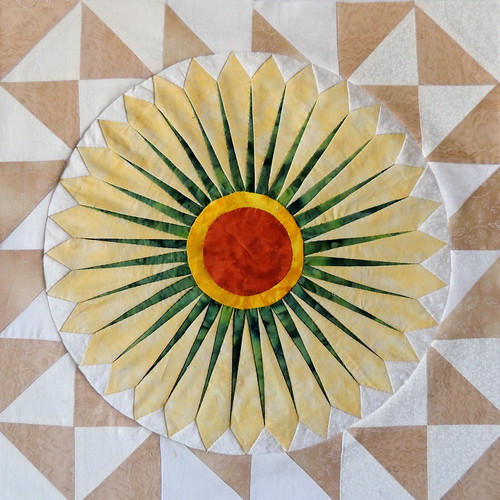
The circle is 14 inches in diameter, so that even though there are a lot of pieces–67 in this block–they are large enough to be able to sew easily. It just takes time ... but since I enjoy the process, it's enjoyable time.
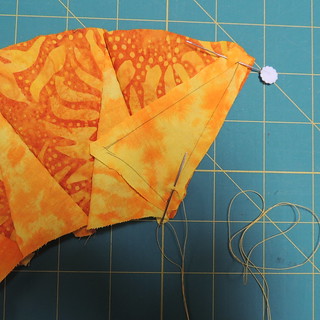
Here's a close look at what that slow-stitching looks like.
The pieced donut shapes are sewn in a continuous line, zig-zagging up and down the triangles. As a new triangle is added, each short seam is lined up and held in place with the threaded needle at one end and a pin at the other. I actually use small, short, designed-for appliqué pins, but the flower pin in the photo is easier to see.
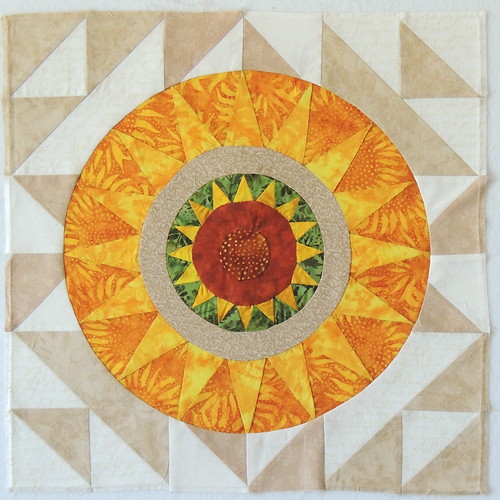
I set the sunflower circle into the machine-pieced background using the 6-minute circle technique–exactly as in Marie's tutorial here:
Marie's Creative Space: Circle Tutorial
I'm joining the links for
Slow Sunday Stitching and for the
Handmade discussion of the month on the Block Lotto.
And here's my first completed Summer Sunflower block, one more time. I am not happy with the circle in the center ... since it's hand-stitched, it will be able to take apart and try again before the end of Summer.

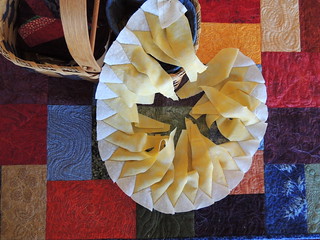 I shared this work-in-progress photo on the Block Lotto earlier this week as an example of how sometimes, in life and quilting, we just have to trust the pattern (or path), suspend disbelief and carry on.
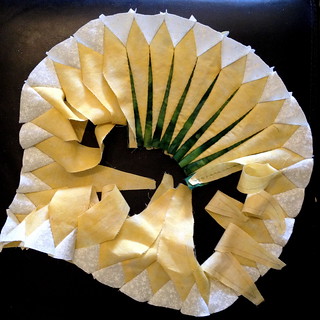 When the ring was complete, I added the slivers of green fabric that fit between each of the 32 petals. It felt like I was bringing order to the chaos ... but there was still no guarantee that when I was done, everything will fit, the block will lay nice and flat and the center of my sunflower will fit.
 I'm linking to the WIP Wednesday party at Freshly Pieced and Esther's WOW (WIPS on Wednesday).