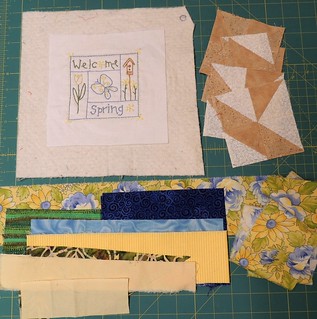
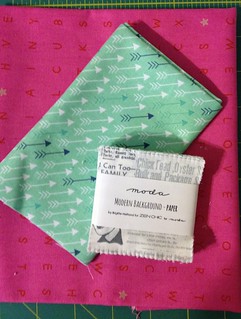
Here's what I made from
those made fabrics that I shared a couple weeks ago. It's my
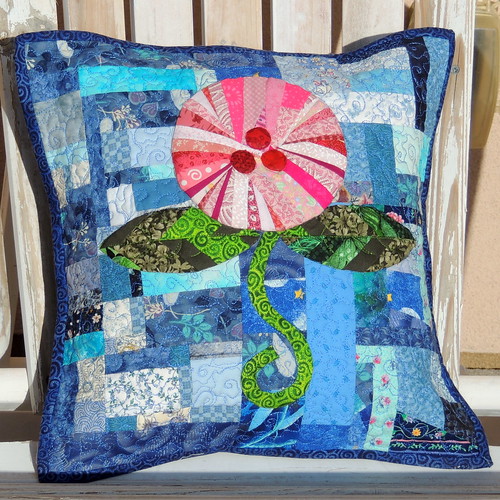
Lovely Finish for April.
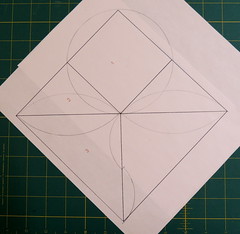
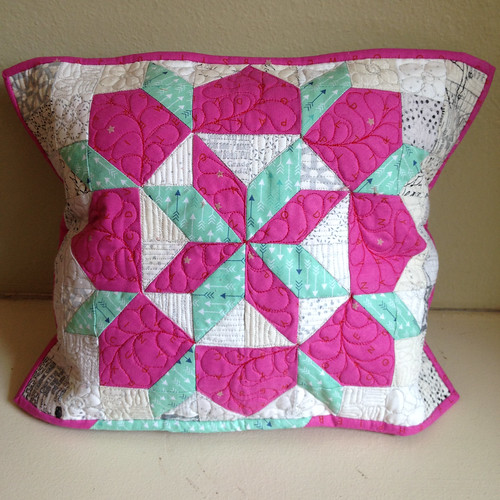
This 14 inch pillow is also my response to the Spring Challenge for the 15 Minutes of Play blog. The requirements of the challenge were to begin with the sketch below and change one thing about it and to use some made fabric.
Because the line drawing was so similar to the Modern Clover block that
Kate designed and I created the
block pattern for the April 2011 Block Lotto, I initially thought to use that block because it would fulfill the requirement of changing one thing.
You can see the beautiful quilt Kate made from the lotto blocks she won that month in the Block Lotto Gallery on this page:
Modern Clovers - A Finished Quilt.
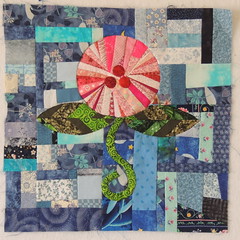
Then I started asking myself those what if? questions and pulled out a compass to turn all the straight lines in Victoria's drawing to curves: A circle instead of a square for the bloom, a curvy stem and symmetrical leaves with pointy ends. (You might have to squint or enlarge the image to see my penciled design).
I had become a fan of Dale Fleming's technique for sewing inset circles when I tried it for the first time a couple months ago to make the February Bead-on-a-String blocks for the block lotto, that I thought of it as a way to sew this block ... but I wondered if it would work when the fabrics involved were made fabrics and had lots of layers and seams in them. I also had never inset anything with points, like the leaf shapes.
If you google Dale Fleming 6-minute circle, you'll find links to Dale demonstrating her technique on
Simply Quilts (on the HGTV website) and a longer version (with other shapes and examples on
The Quilt Show (membership may be required). You'll also find others sharing their experience–clearly I am not the only one who has become a fan.
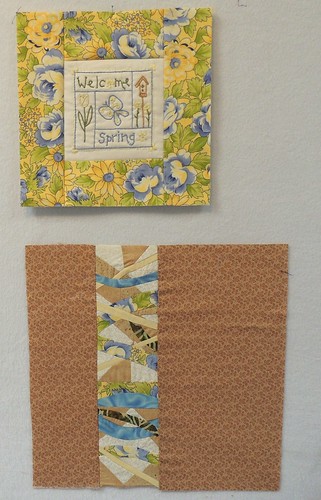
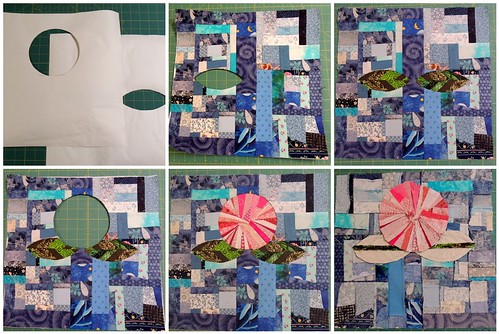
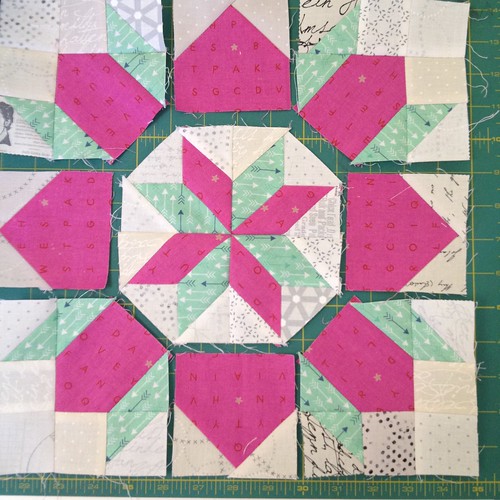
You can see in my sketch, and in the finished pillow, that the circle bloom overlaps the leaves. I decided that the bloom would be "in front" of the leaves and so, I would need to inset the leaves, then inset the circle into the piece. I created two templates (from freezer paper) and made them 14 1/2 inches square, the same size as large as the background, to help me keep the individual elements aligned.
Here are the in-progress photos I took of the process.
The individual photos (and more) are in my Flickr album:
Spring 2014 Challenge. You can also flip through them using the arrows on the photo at the bottom of this post.
I wasn't sure that my sewing machine was going to like sewing through the many layers of made fabric and the glue that holds everything together, especially at the bottom of the circle, where I was sewing the circle into the leaf/background seams.
It worked beautifully, the first time, with no ripping or re-sewing. I was amazed.
The last photo in the mosaic above shows the wrong side and how it all somehow worked.
I added the curvy stem by hand appliqué of a bias strip, sewn into a 1/2 inch tube.
Since I wasn't entirely happy with the center of my string-pieced circle, I also added three circles by hand appliqué using a US dime as my template to cut and prepare the circles.
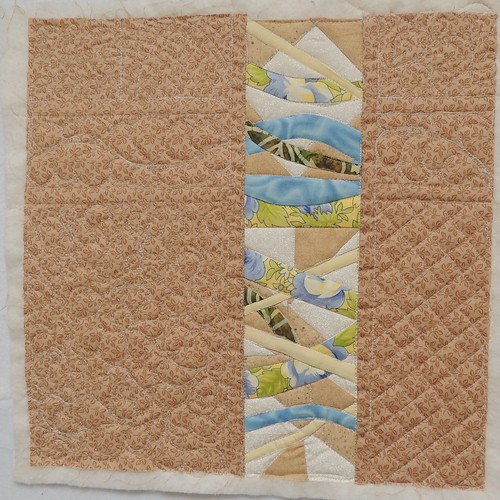
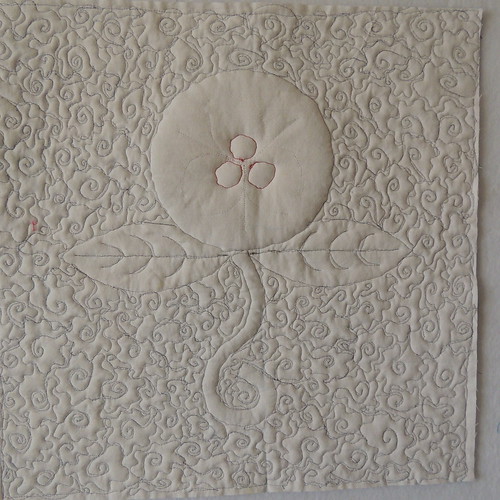
Since I knew it was going to become a pillow, I used a plain muslin fabric for the back ... which makes it easy to see the good, bad and the ugliness of my quickie free motion quilting.

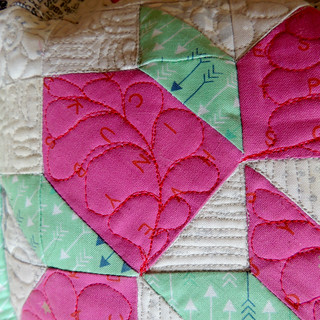
I outlined the pieced and appliquéd shapes, quilted the background with a free motion fill design–similar to Leah Day's
Bed of Roses, though mine actually feel more like fried egg flowers with spiral centers–and added veins to the leaf shapes. There's an extra layer of batting behind the circle bloom.
After it was quilted, I turned it into a pillow by added a plain fabric lapped back and binding the edges.
And then, after a weekend of gray rainy days, it was ready for it's day in the morning sun.
In my case, April Showers bring progress to quilting projects :-)
Sometimes a little play and a small challenge piece can spark a new idea ... and this experience was no different ... I can't wait to see if my new idea works.
I'll be linking to the Finishes party for A Lovely Finish when it's published later this month. This is also a NewFO finish for me in April. If only the rest of my life was going so well and ahead of schedule ...

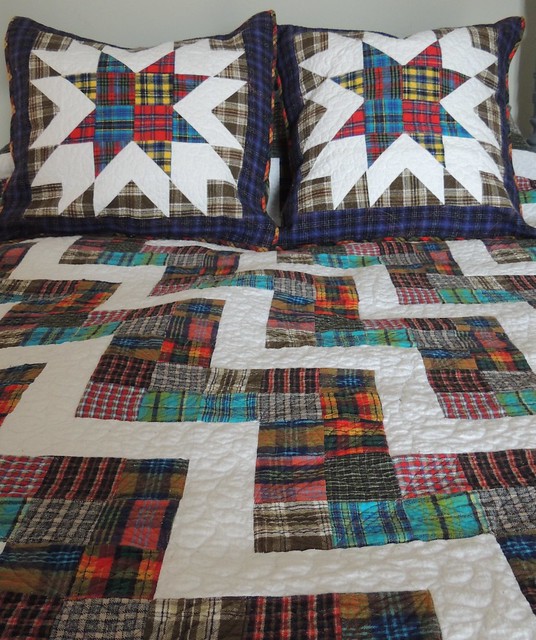
 Last fall, Julie at the Intrepid Thread created a challenge based on using fabrics of her choosing. She has a great way with putting fabrics together and so I knew I wanted to play.
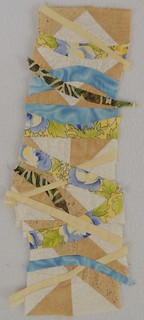
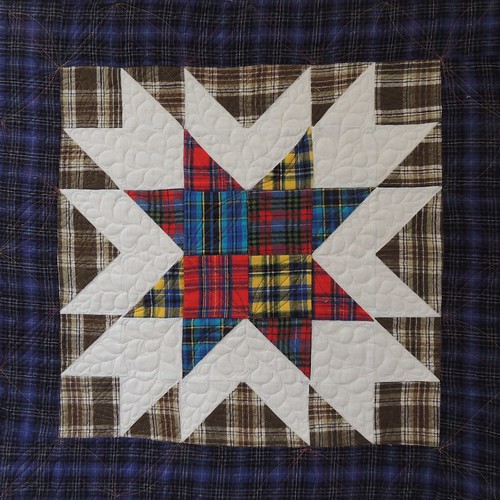
 I used a combination of shapes cute from templates and rotary cut squares and half-square triangles.
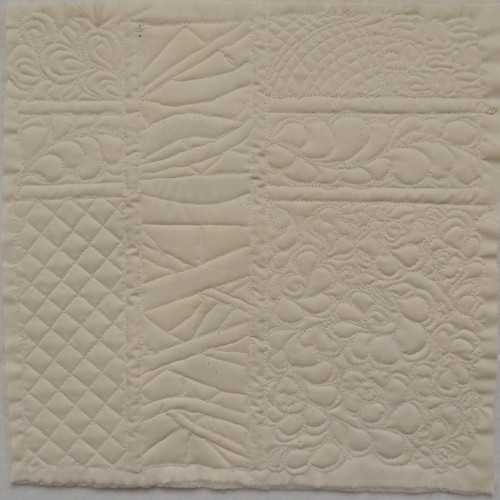
 The front is simply quilted with loopy feathers, wobbly matchsticks and doodle-y daisies and loops.