When I select fabrics to make my blocks for the Block Lotto, I do the opposite of what you might do when making blocks for a quilt–I try to take the fabric guidelines in as many different ways as I can to see if they will still play together nicely and so you will often find me using very old fabrics–like in this blocks which contains two of the oldest fabrics from my stash, new fabrics, solids, batiks, hand dyes in a range of colors. Usually you'll see examples of low contrast alongside high contrast blocks.
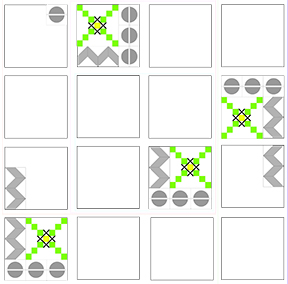
This month, we are making big 14-inch finished size blocks and so the maximum to enter into the drawing for lotto blocks is four. Here are my very diverse four.
Even though I probably wouldn't have put these fabrics together in a quilt, once they were on my wall, I fell in love with the idea of using this block for the green scrappy quilt I have always wanted to make. I was secretly hoping that the designated color for the
Rainbow Scraps Challenge (RSC) would be a more generic green as a reason to make that scrappy quilt now ... but it may happen anyway with no reason other than I want to.
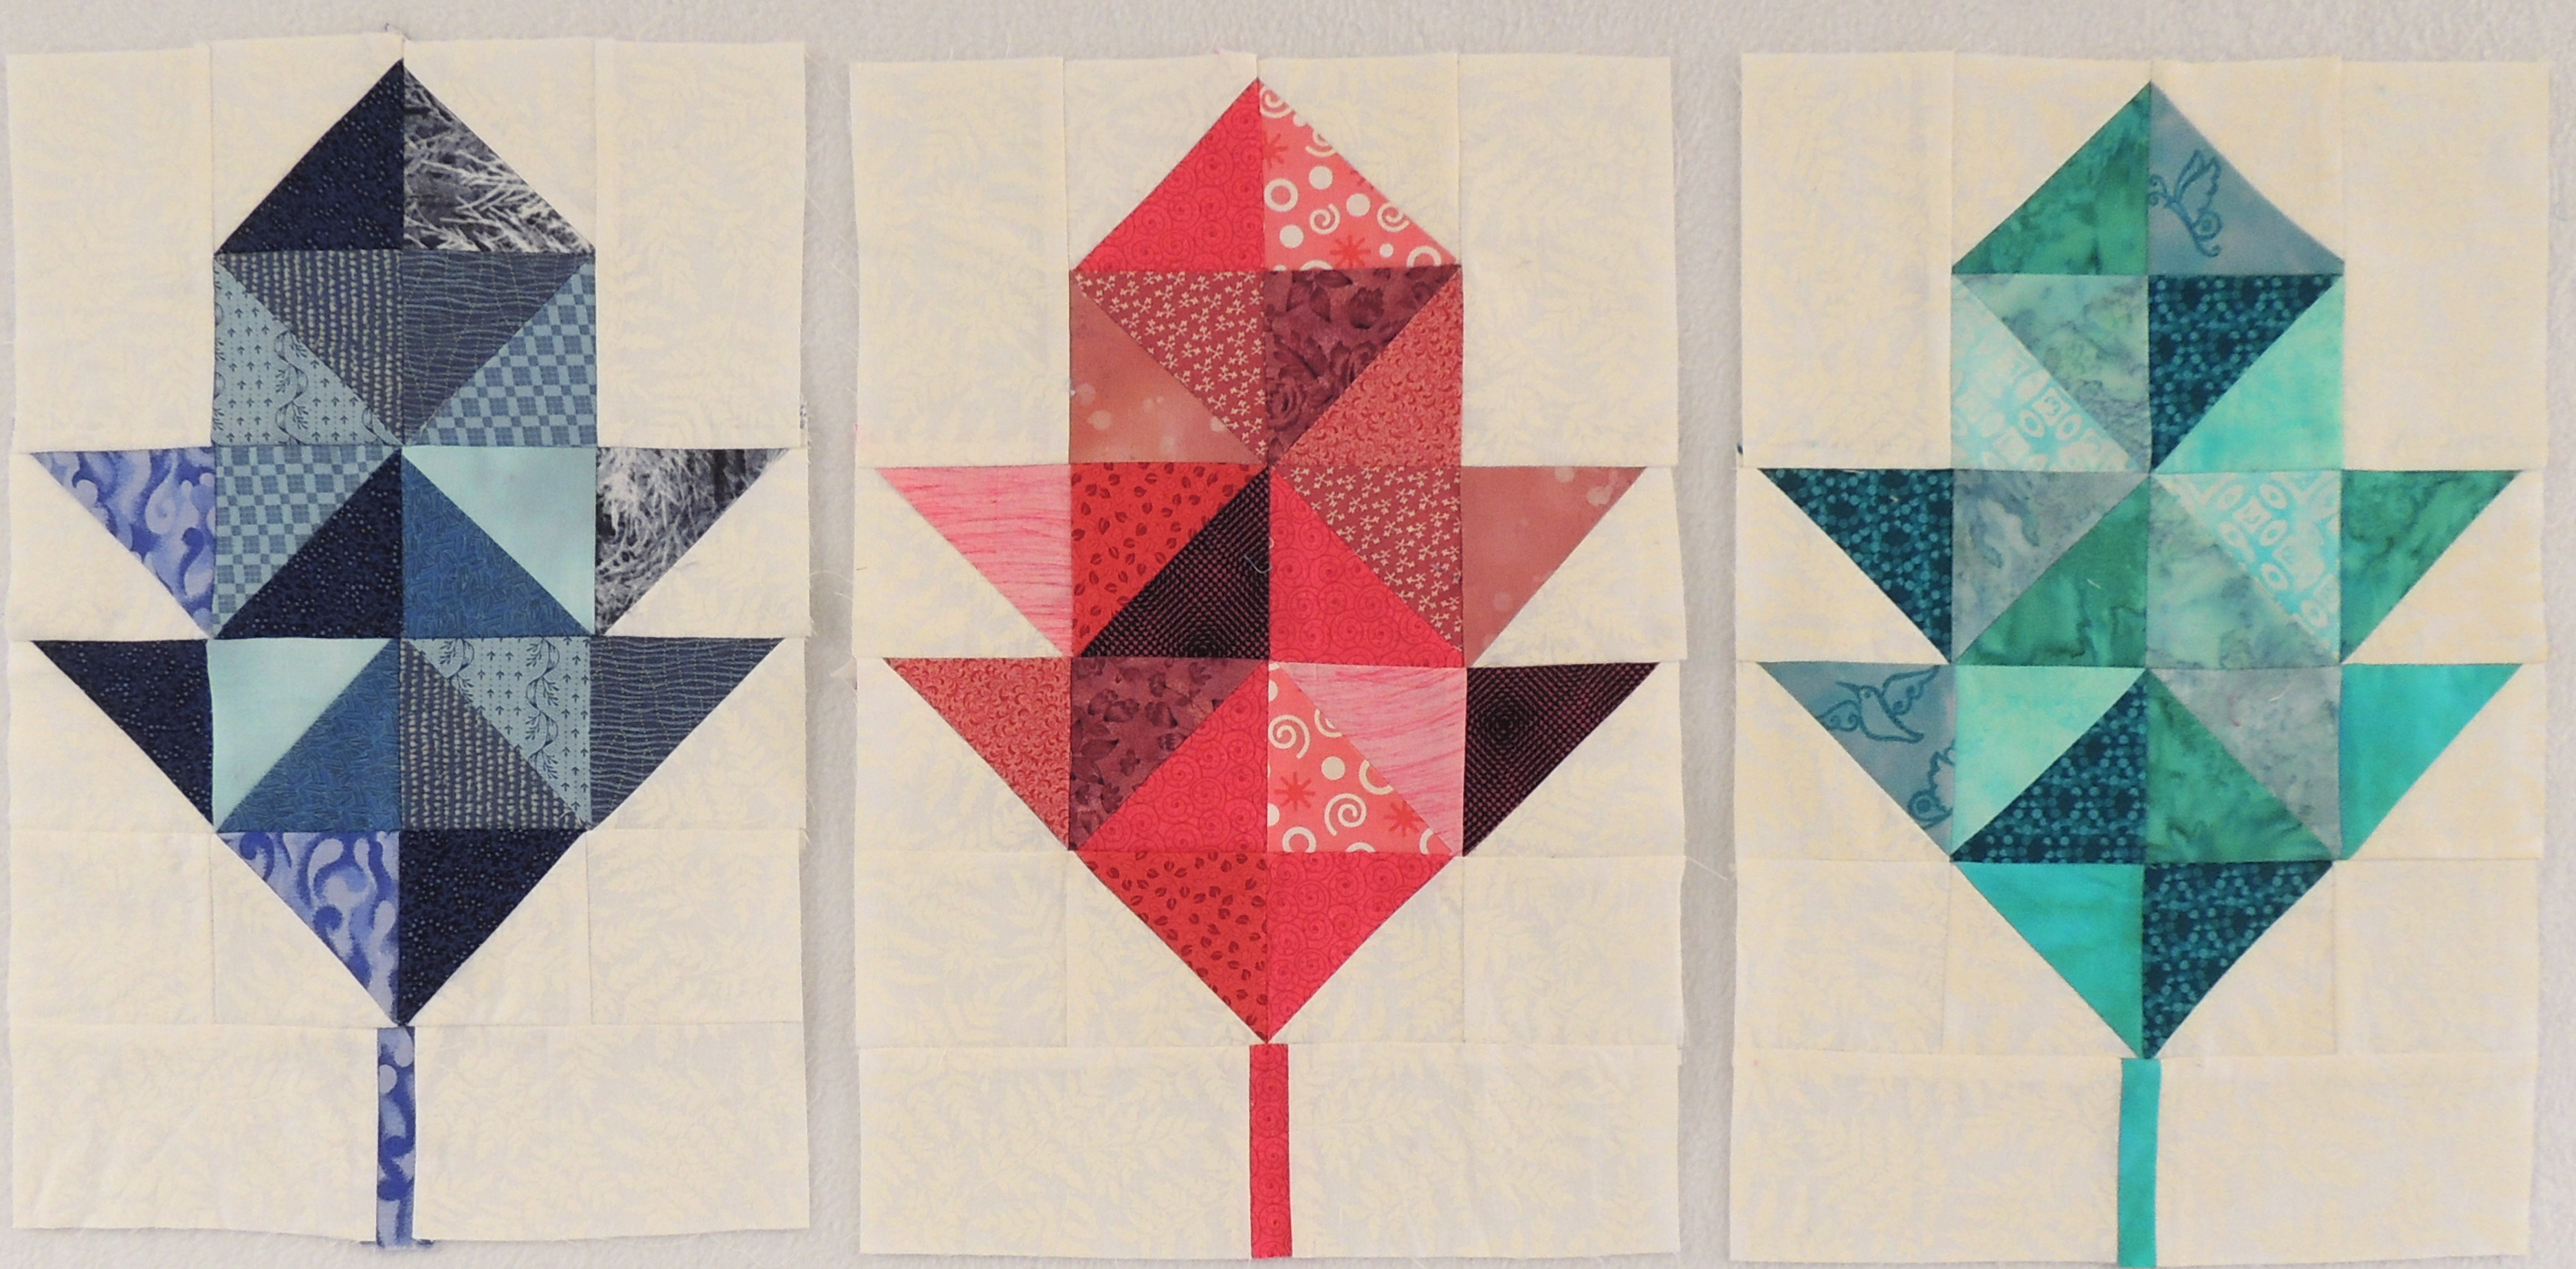
I have made a pair of these blocks in Aquas and Teals for the RSC–they will be part of my Mod-Mod throw. Here they are with the Blue and Pink blocks made in January and February.
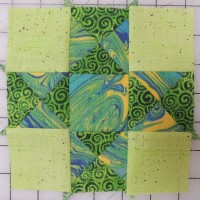
Choosing fabrics may be the most challenging part of making this block–whether you are making it for the Block Lotto and following those guidelines or making it for your own projects. I strongly suggest making the star center first so you can see all three fabrics together and decide if there's enough contrast for your liking. One of my four lotto blocks started out looking like this ... although I loved the fabrics together, I didn't love this, so I used a dark red-violet solid for the star.
For the background, Fat Quarters work well–the 4-patch corners are quickly made from 2 strips that are 20-inches long, approximately the width of a FQ or half a width of fabric (WOF) if you're using yardage.
Once the fabrics are chosen and cut, the block goes together quickly.
The star center is a variation of the Ohio Star block with the chain fabric in the corners.
I started with the large squares cut the exact size needed to make the quarter-square-triangle (QST) units, but a lot of quilters like to cut larger and trim to size. I think this is a pretty good step-by-step tutorial for making them:
Quarter Square Triangle Tutorial
The author is making larger units–for our block, you’ll be starting with the 3 1/4-inch squares (3 1/2 if you like to cut larger and square-up and trim) for 2 1/2-inch quarter square units (to finish at 2 inches in the sewn block.
The star center is constructed 9-patch fashion, using the 5 small squares and the 4 QST units.
I made the 4-patch corners using the long strips, sewing them together, cutting them into 8 units which became my four 4-patch corners.
If you are working with smaller than half a WOF, you could make a pair of strip sets using 10" long strips or make the 4-patches individually from 2 1/2-inch squares.
The large block is constructed, again, like a 9-patch, adding the large rectangles. In my mind, as I make the block, I think of the process in two steps: make the small 9-patch (star center), then make the big one (and complete the block.)
You can read more about the inspiration for this block pattern and details for this month's Block Lotto here:
You can download a copy of my block pattern here:
It will also be available to download from my Free Block Patterns page soon.
While I cannot explain why I find it so appealing, I definitely see more of these blocks in my future.




 As you know, after making ZERO progress on my tea towel quilt, I've decided to

