
 I have plans for more hand appliqué tonight. But, before my Slow Stitching Sunday can begin, I've been doing some preparation.
I love needle turn appliqué and that's my normal way to go. But there are exceptions and I thought I'd confess and share.
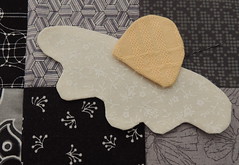
Last weekend, I blogged about my do-over, when I really didn't like how my attempt at needle-turning some sunflower-ish shapes made from a thick, coarsly woven vintage table cloth turned out. The alternate technique was successful, so I decided to use it for some more appliqué flowers on my tea towel challenge piece.
I learned the technique in a workshop with Jane Sassaman. I never had a reason until now. You use lightweight fusible (one side only) and a glue stick to produce appliqué components with smooth edges, suitable for machine or hand appliqué.
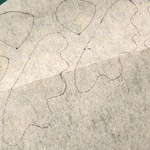
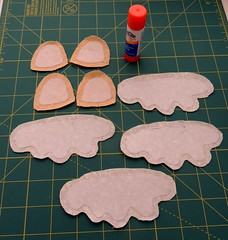
- Trace the appliqué shapes, reversed onto the fusible.
- Cut out the shapes on the line.
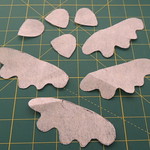
- Fuse the shapes to the wrong side of the fabrics.
- Cut out the shapes from the fabric leaving enough to turn under–for me, that's usually between 3/16 and 3/8 inch.
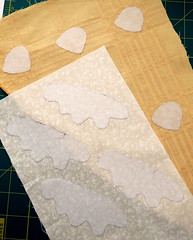
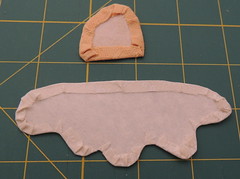
- Carefully fold it over the edge of the fusible smoothly, gluing it to the fusible on the back.
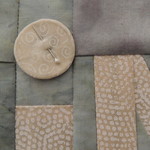
Another alternative appliqué preparation tip I learned from a friend was using coins for preparing circles.
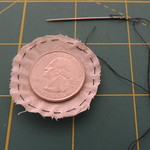
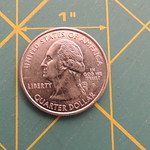 Did you know that you can use a US quarter to create a one inch appliqué circle?
- Use the quarter as a template and cut a circle, adding some allowance to turn under.
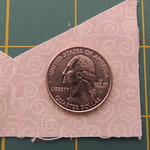
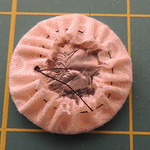
- With needle and thread, make a running stitch around the circle.
- Pull the thread tight, with the quarter inside.Press it with a hot iron. Steam and/or spray sizing are appropriate to use here.
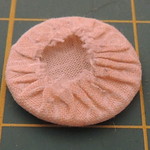
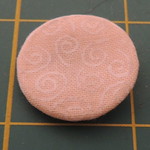
- Let the fabric and coin cool, then remove the thread and coin, being careful to maintain the shape.
- Pin in place, ready to stitch.

 If you need to make a smaller circle, dimes have a 3/4 inch diameter. And if you need more sizes, a trip to the washer aisle in your local hardware store will offer you metal templates in many sizes. After being shown this technique, I stocked up on multiples in a range of sizes.
I started playing with coins before mylar circle templates were available for quilters Because they are very thin, the circles you prepare from them are more precise, but the nice thing about using coins or washers is when you need to make A LOT of same-sized circles, you can prepare them assembly line style, using many quarters, dimes or washers of a specific size.
 Of course, today, all I needed was one, to dot an "i" on a word block, but it's still fun to use a quilting tool that only costs a quarter :-)
4 comments:
That is one of the things I dislike about applique is all the prep work. But I love the look of it when it's done!
Thanks for linking up to Slow Sunday Stitching!
That is a great tip on the circles! I had never thought of that. I'll plan to use that on some circles coming.
Thanks!
Awesome Tip I hope everyone reads this....
I have to make about 50 of these 1 1/2 inch though. I cut out cardboard and am using that. I tried needle turned, not that good; then I tried waxpaper on the back, sew it on, slice thru the back, better. But this will be way faster and better.
Post a Comment